Assignment 8: Final Project
Concept / References:
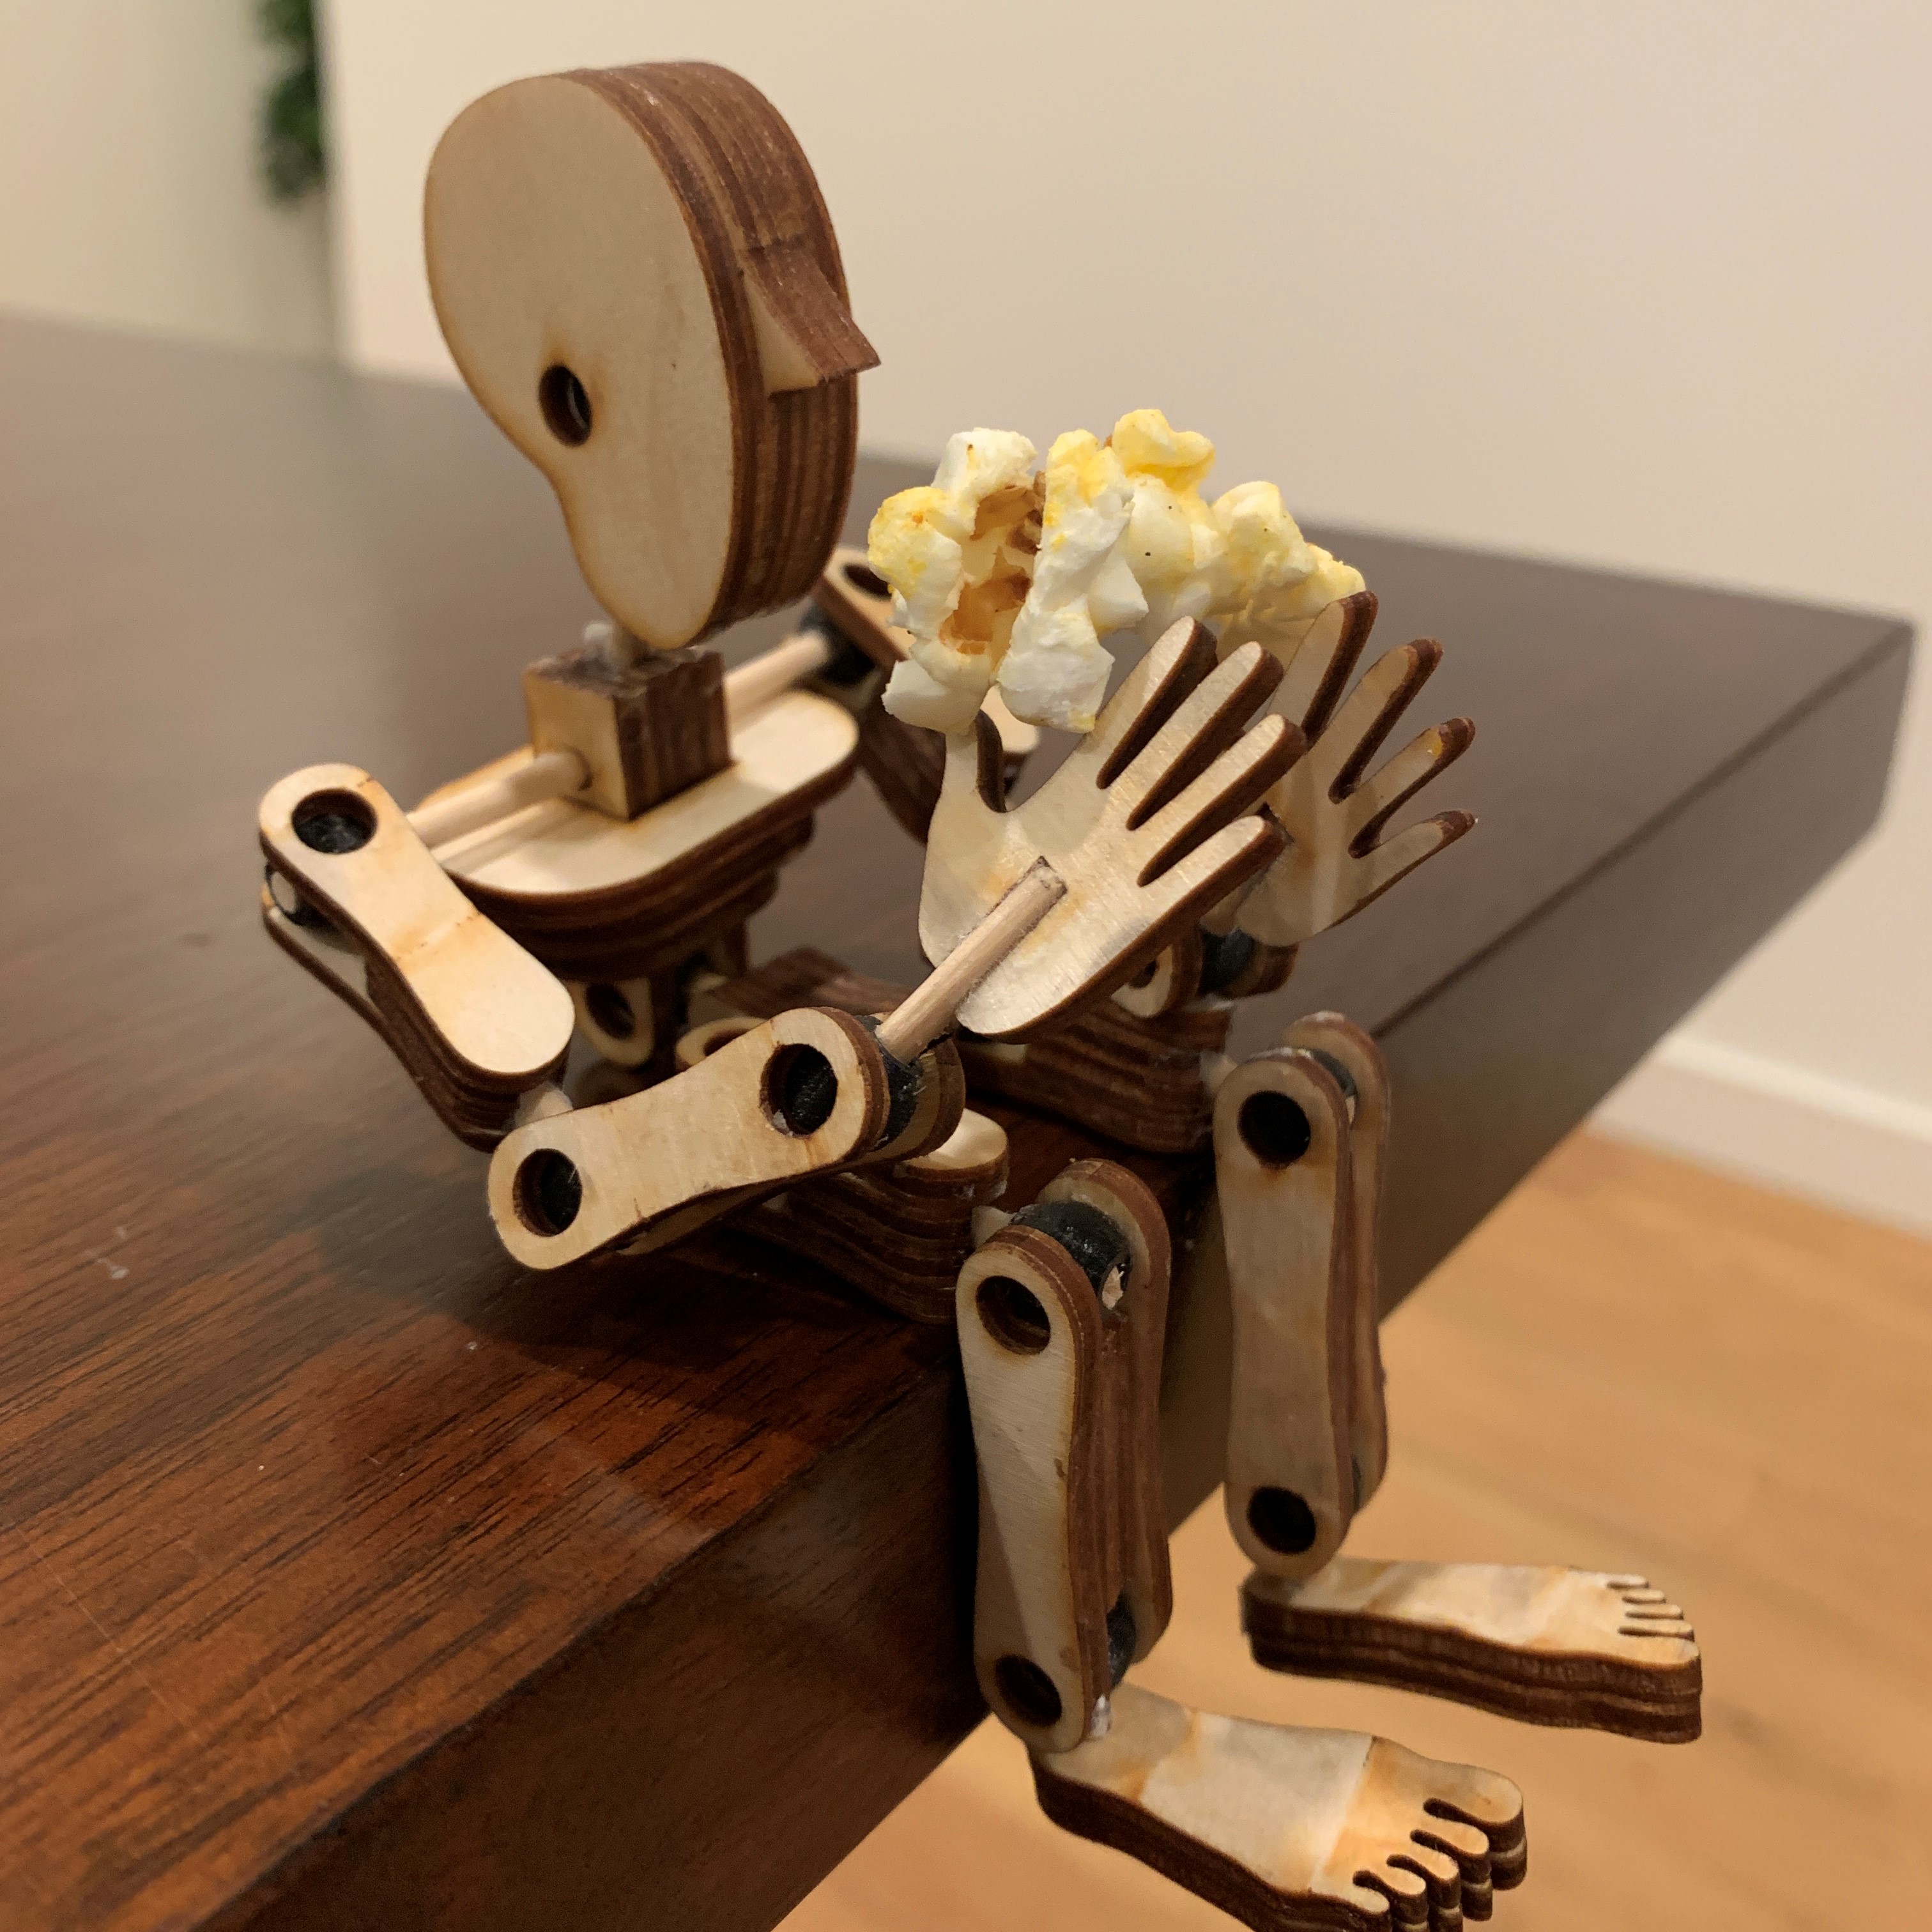
For my final project, I want to create a poseable mannequin toy.
I was inspired by the work of Rob Ives and have decided to try to adapt his concept (without using any of his source files). Here's a blog post where he details some of his work that gave me the inspiration!
He has a few different iterations of the concept, so I combined a few elements from different versions and created my own version.
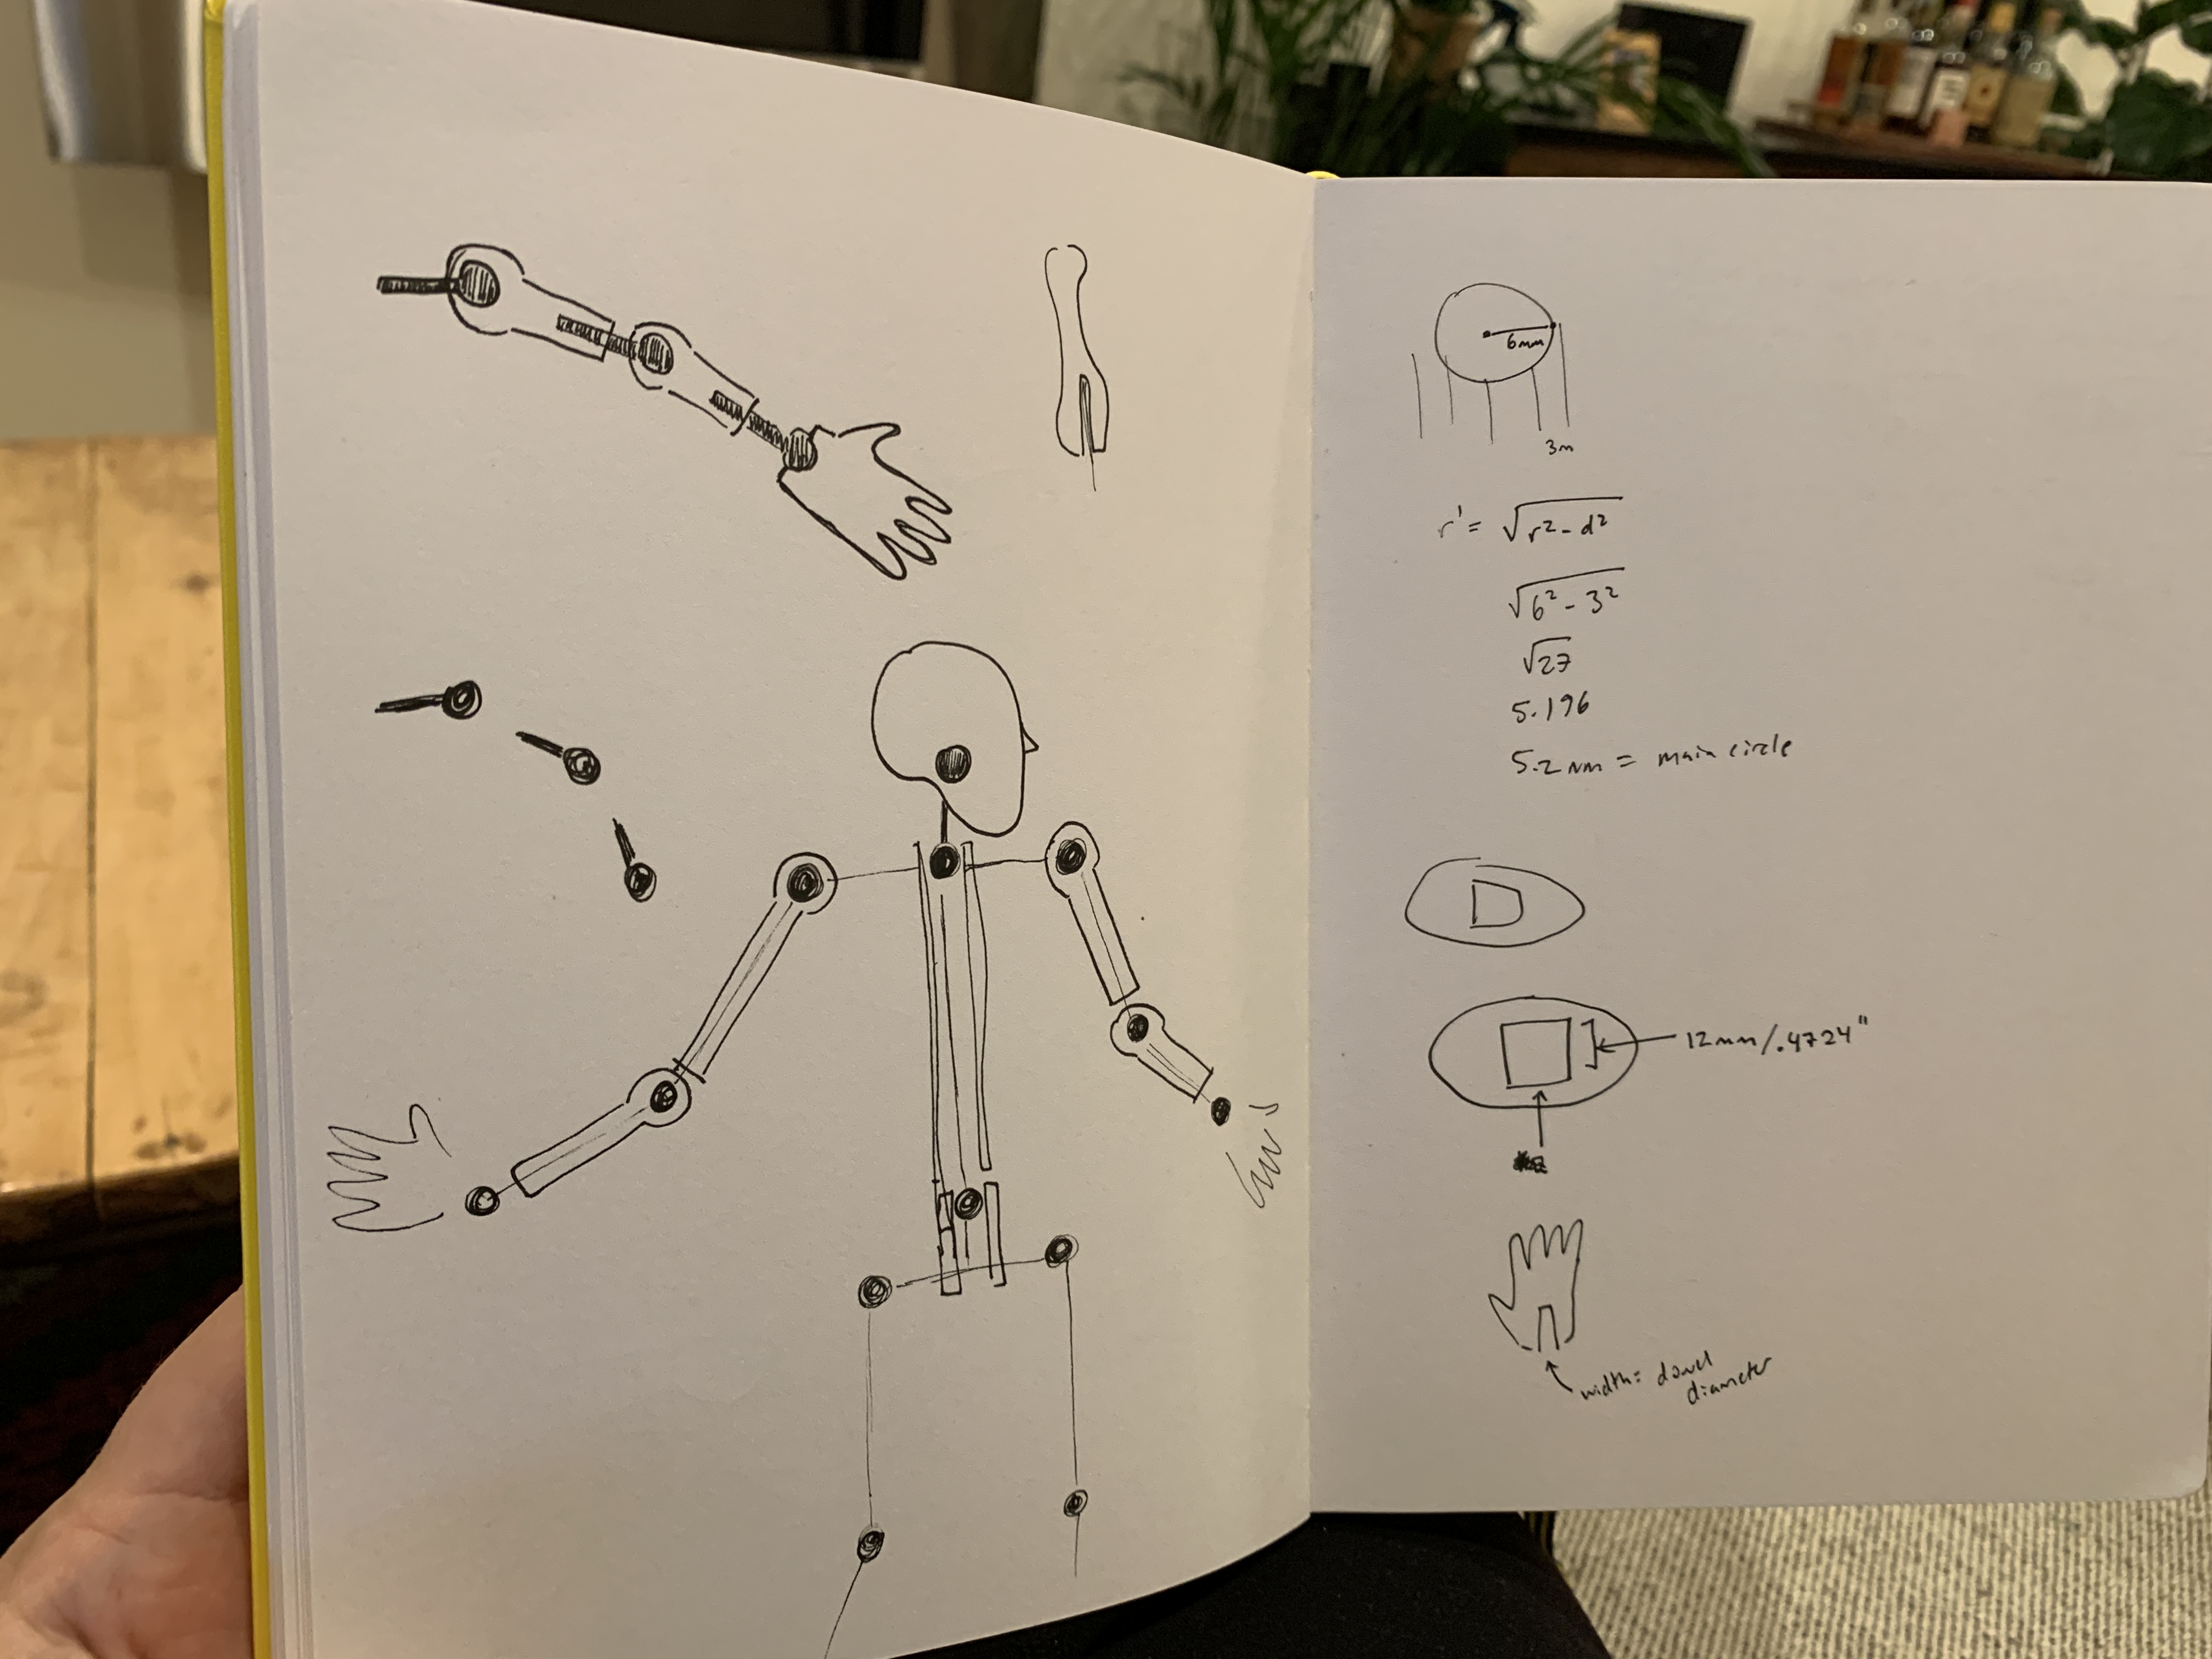
Here's my initial concept sketch:
Process
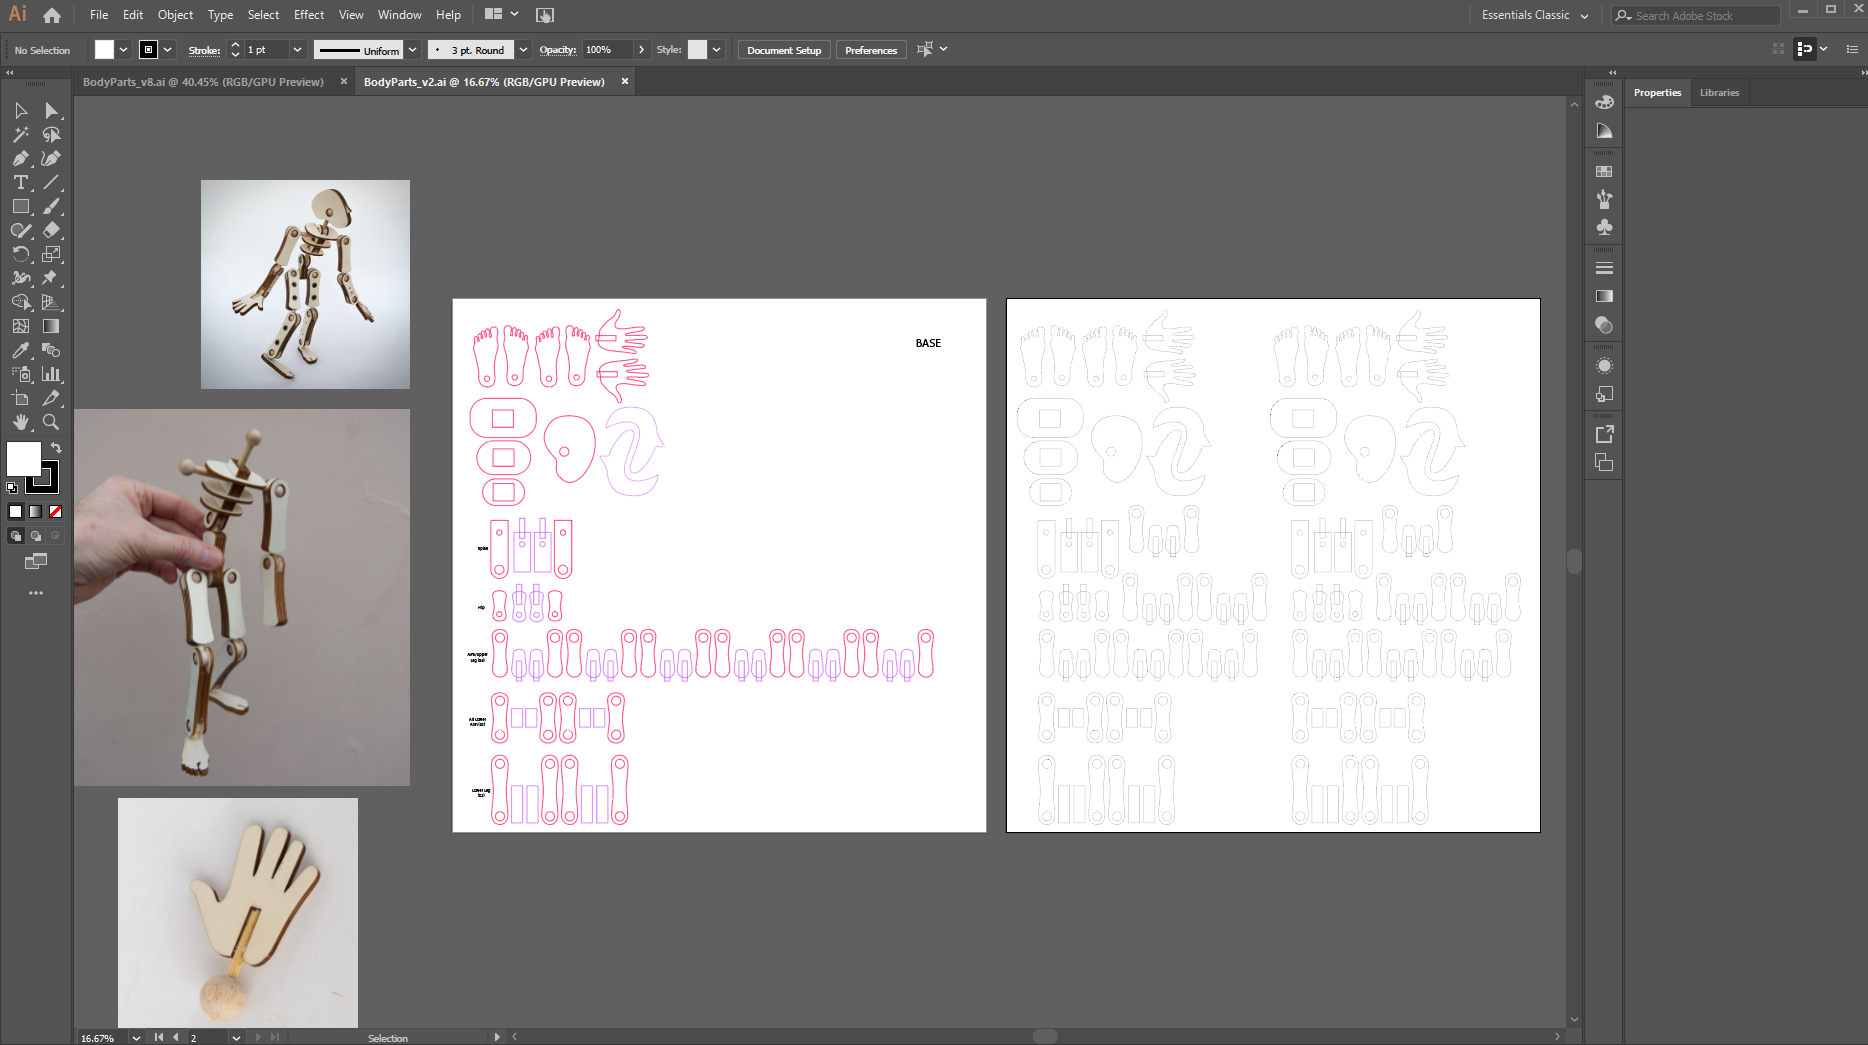
I started by designing the body parts in Illustrator, since I found have found Illustrator to be the easiest place to create and edit more organic shapes and curves.
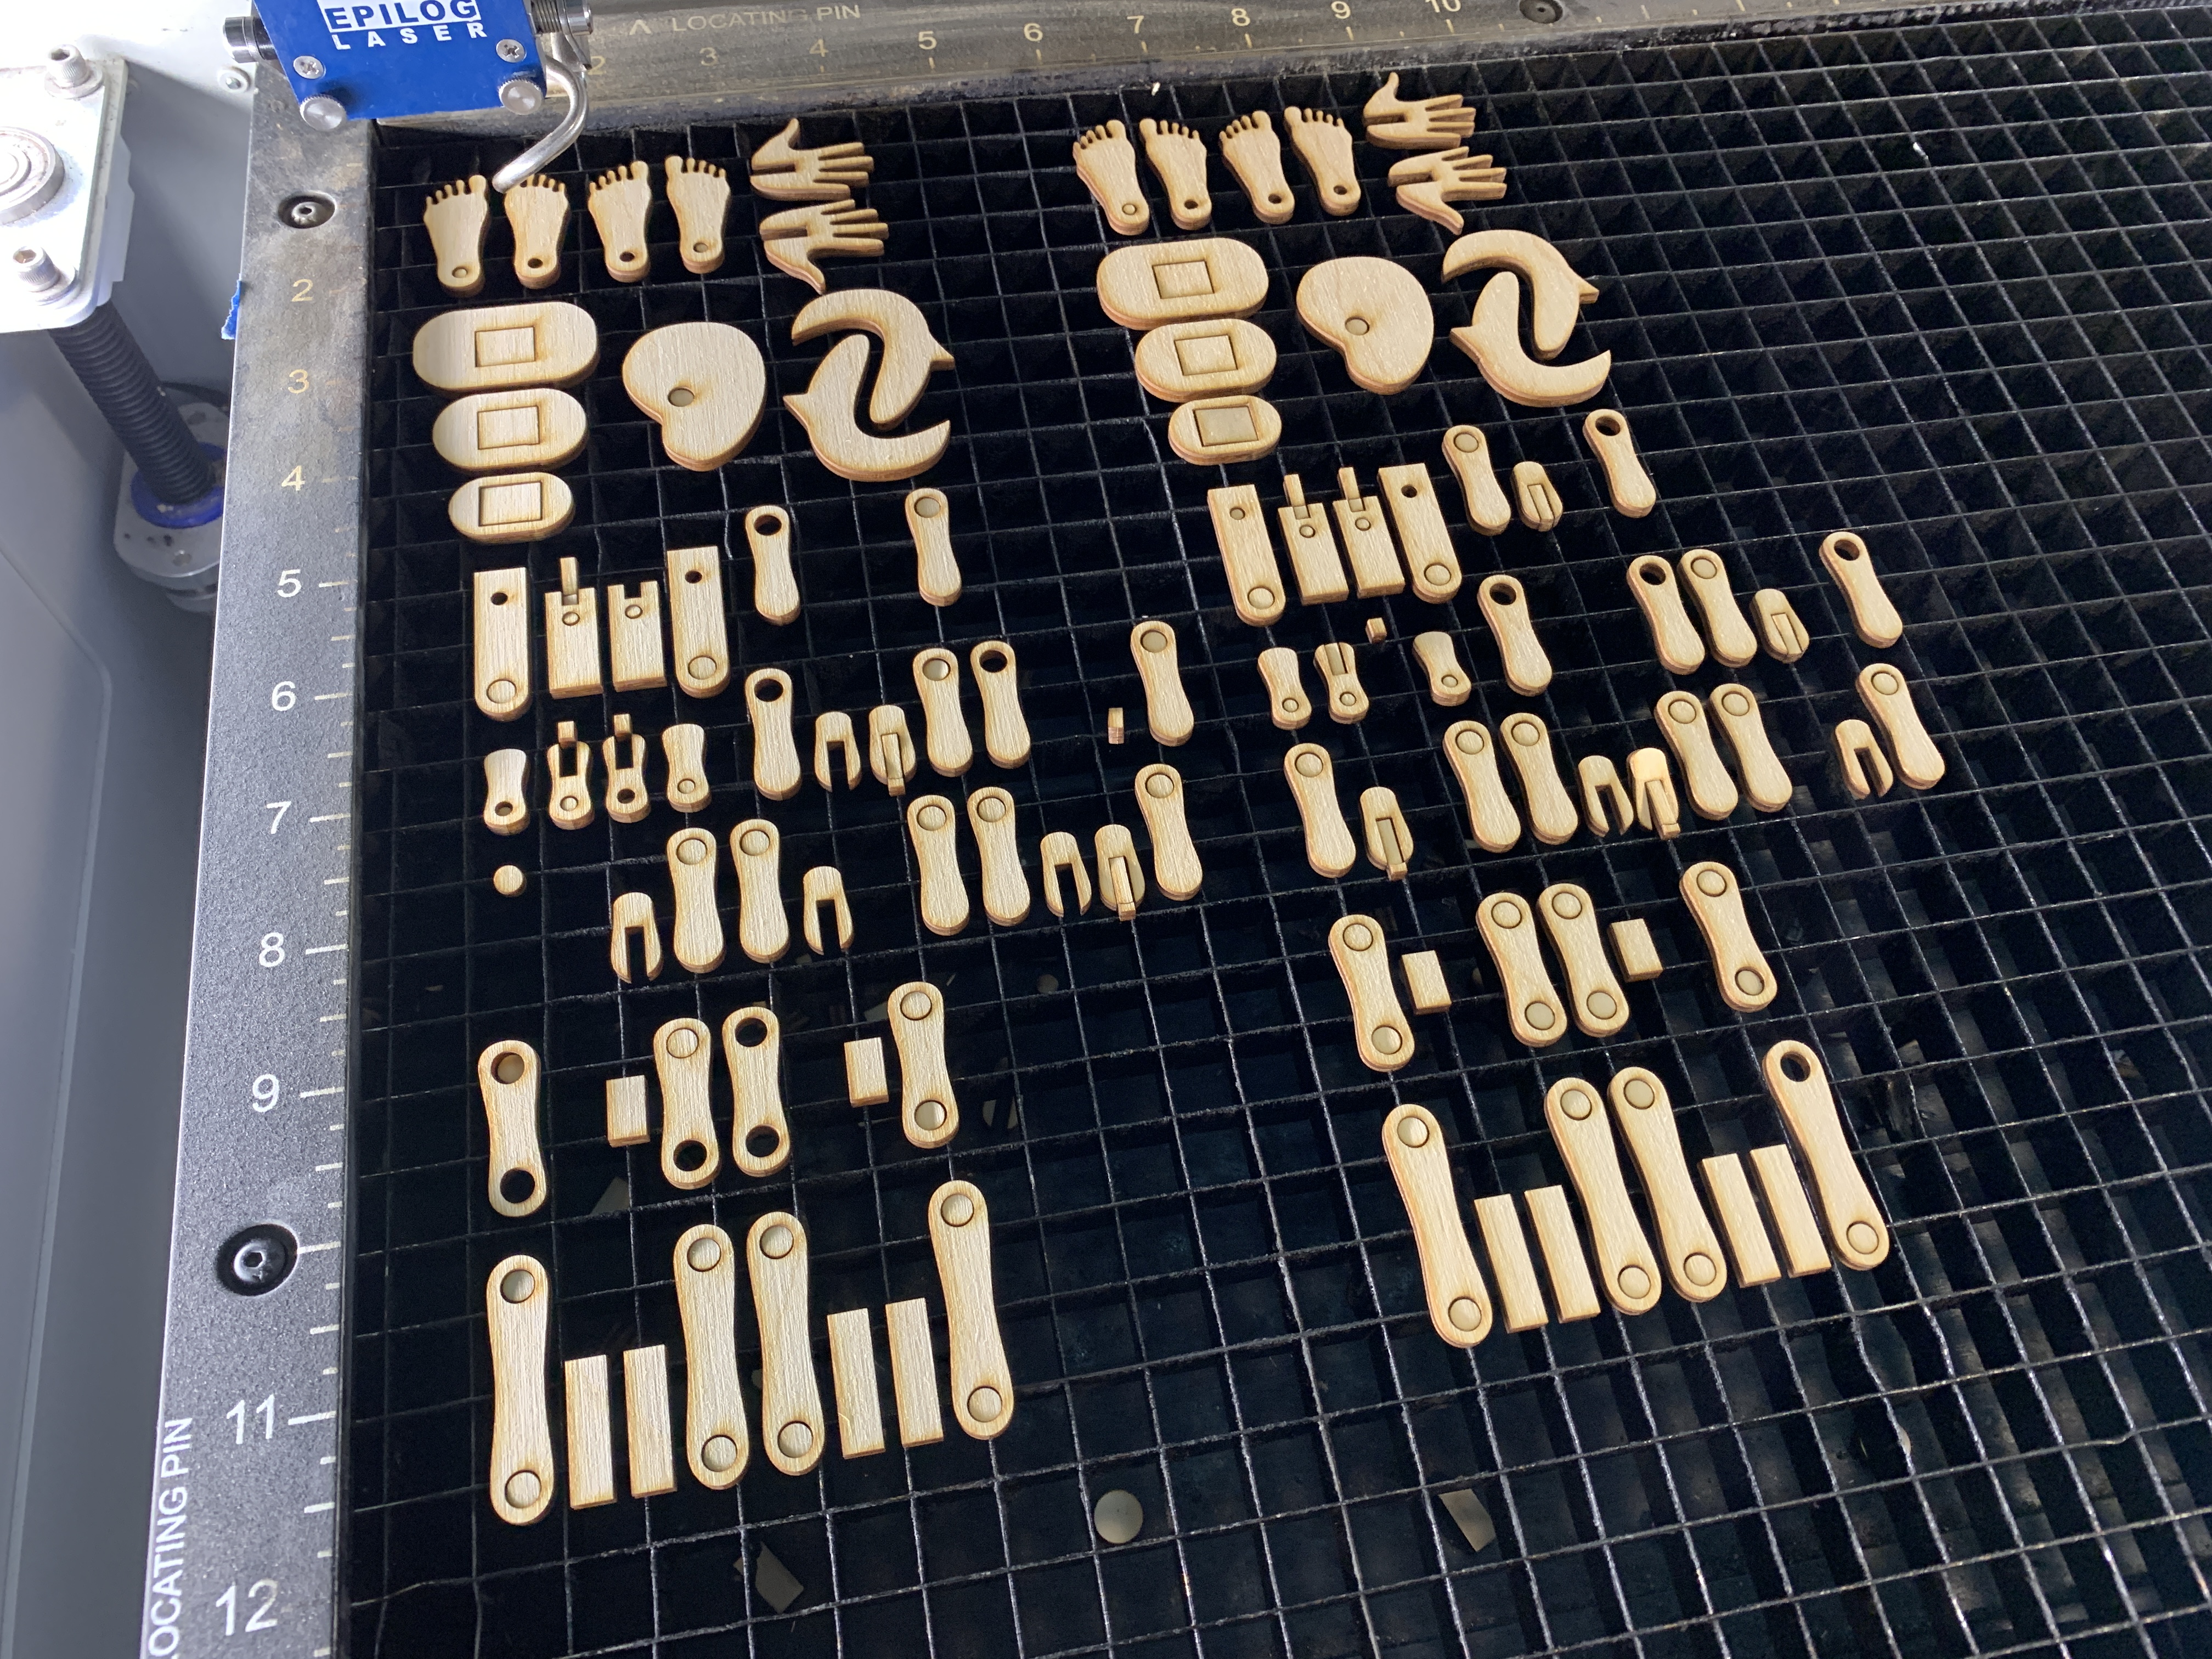
I created all the different components that I would need to laser cut (using some of Rob Ives' work for reference on the side) and aligned them all to fit on a 12"x12" plywood sheet (1/8" thick).
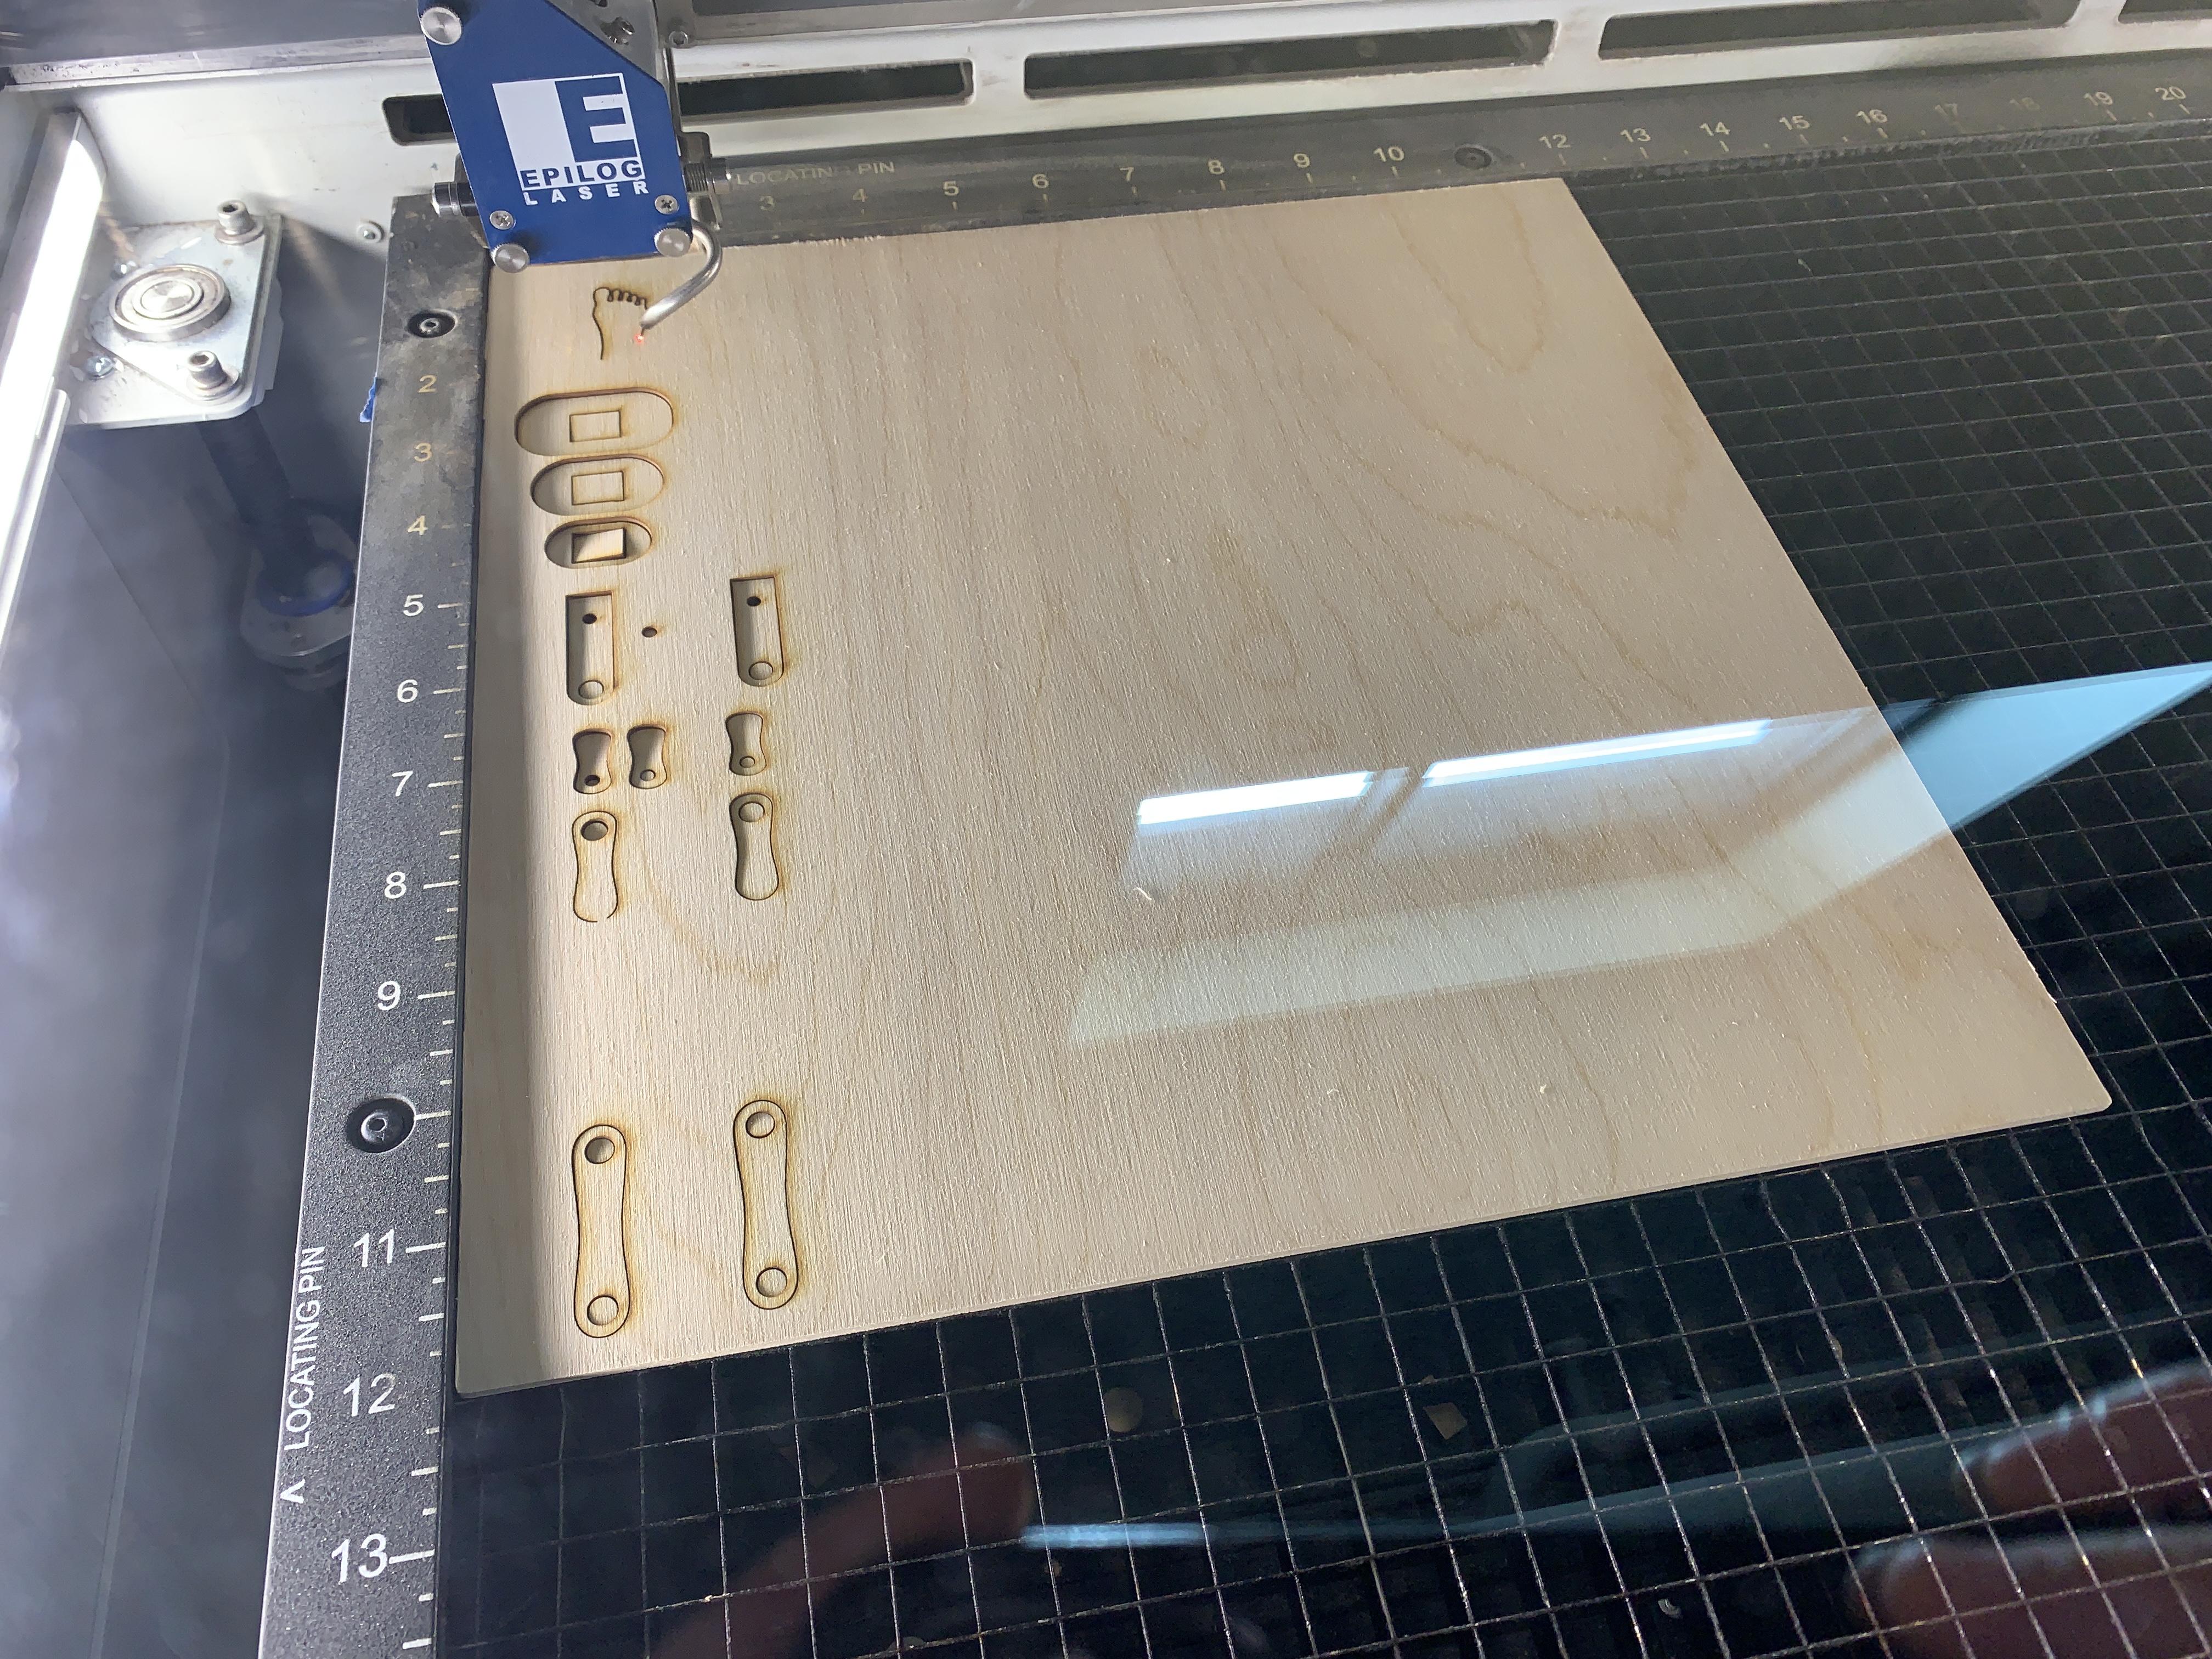
I used the Epilog laser cutter at the Mill to cut all the different components.
I used the recommended settings for 1/8" wood cutting:
Speed = 10%, Power = 100%, Frequency = 50%.
These settings were perfect!
One thing I forgot to account for: the size of the holes of the grate in the laser cutting bed. I had some pieces fall right through so I had to cut a few different versions to make sure I had a complete set of parts.
If you are going to make this model on your own, I recommend scaling it up and adjusting the ball joint outer diameter accordingly, or making sure you cut enough versions that you have a complete set of parts.


Next, it was time to design and 3D print the ball joints!
I designed them in Rhino using Grasshopper for parameterization, so that I would be able to easily adjust the inner cylinder diameter to fit together with the dowels - and easily adjust the outer sphere size to give the right amount of friction with the laser-cut parts.


After a bit of experimentation and test prints to figure out the best 3D printer settings, I used the following settings on the 3D printer. Note: 99% concentric infill
The nice thing about these ball joints was they were so small they only took 10-15 mins each to print. The model requires 14 of them.

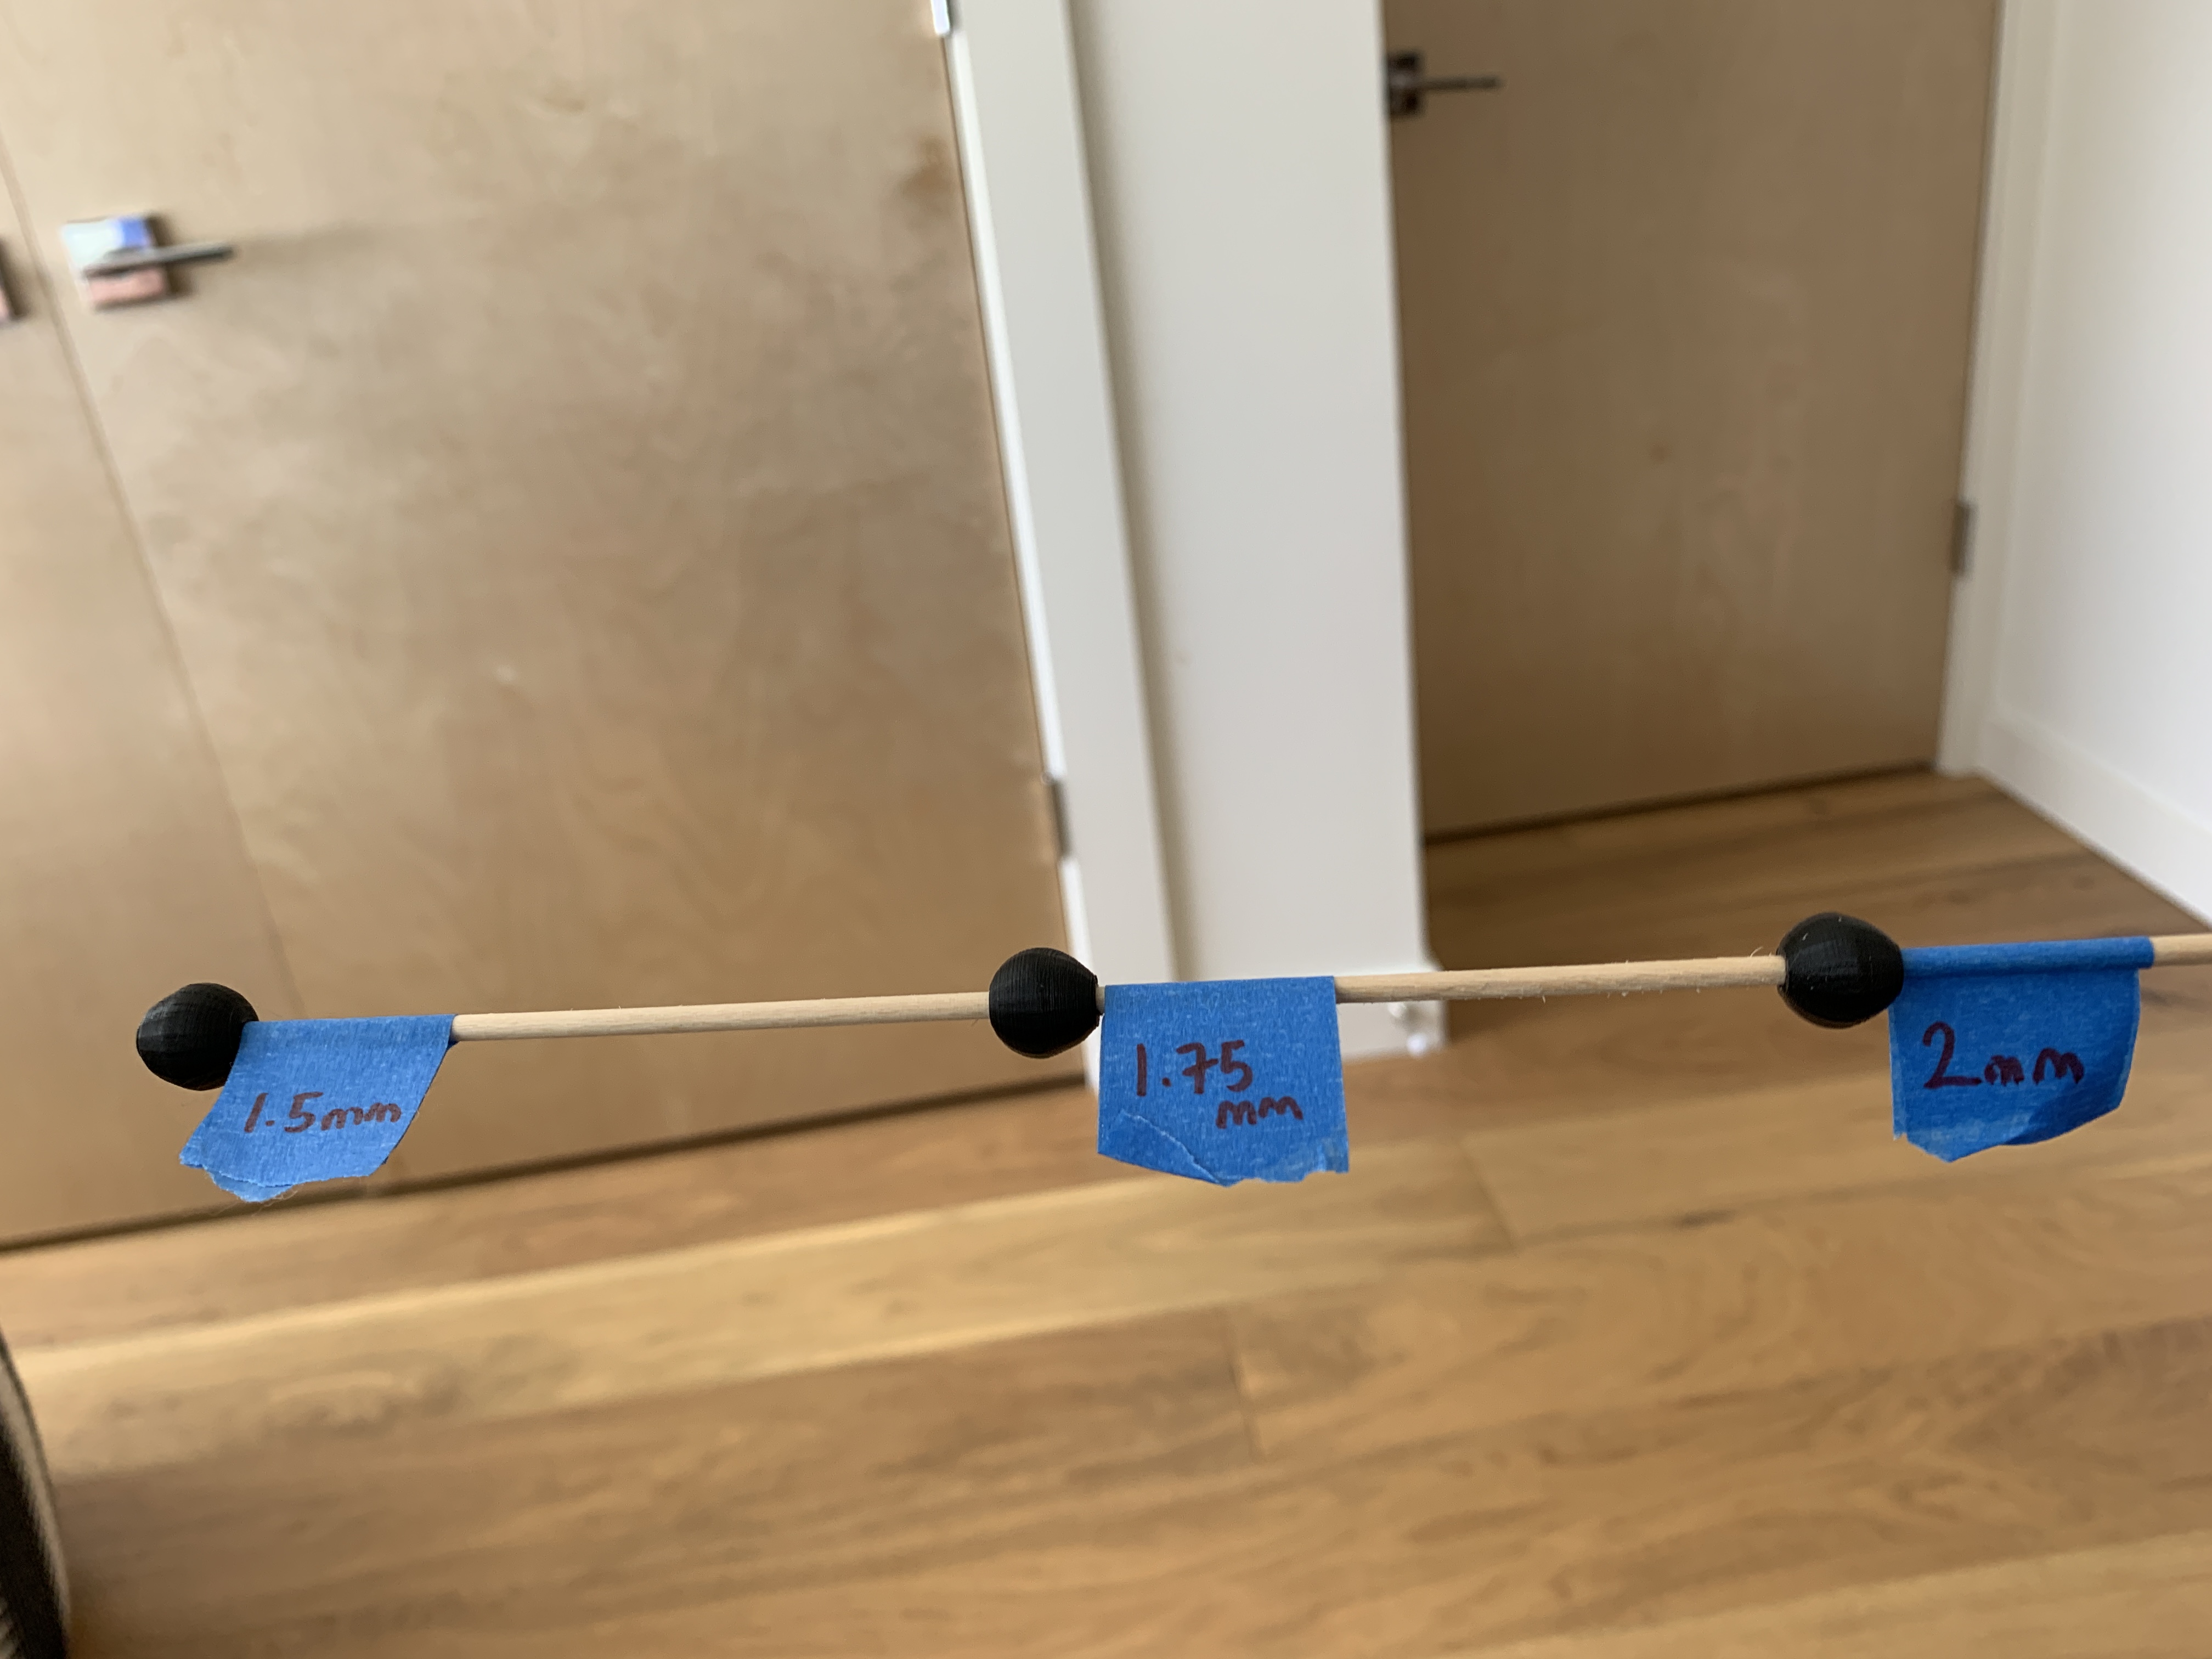
I needed to get the actual ball joint dimensions correct, so I ran through a few versions of adjustments to get everything at the dimensions I wanted.
Final dimensions:
Inner cylinder radius = 1.75mm
Outer sphere diameter = 8.35mm
Once I had all the dimensions worked out, I needed to 3D print 16 ball joints. I tried printing them all at once but got spaghetti, regardless of whether I used a skirt or a raft. I recommend printing them individually.


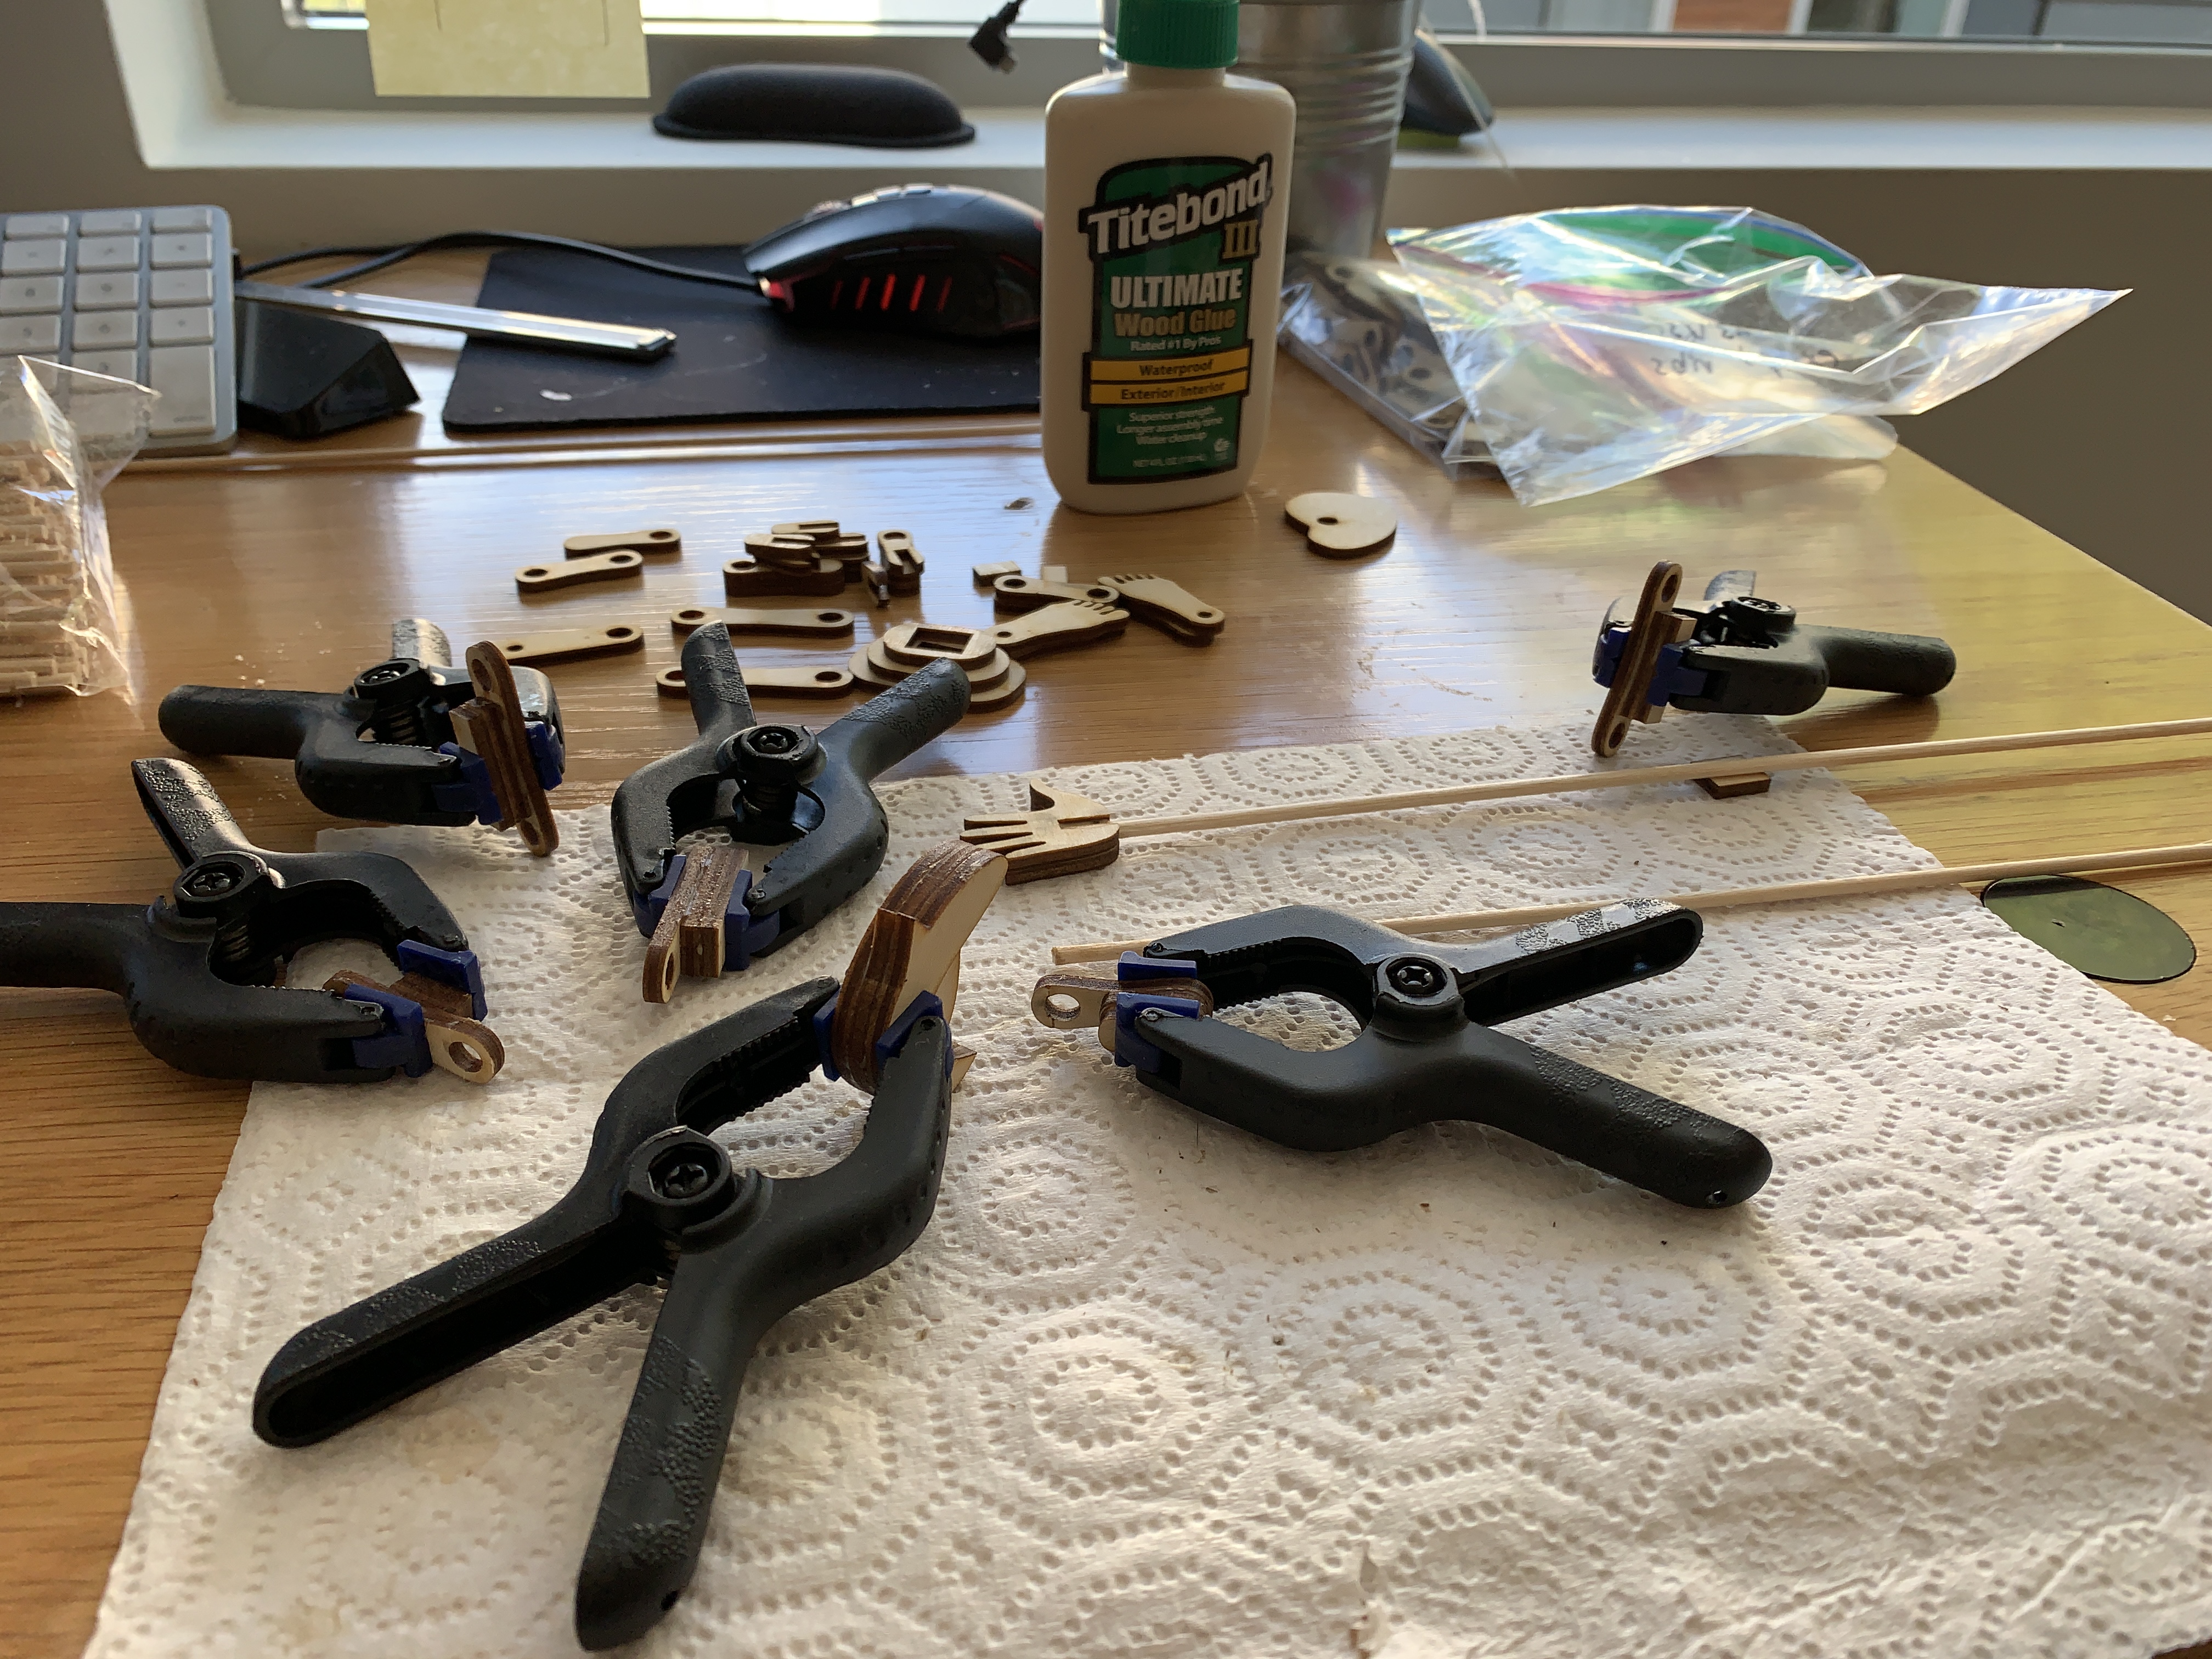
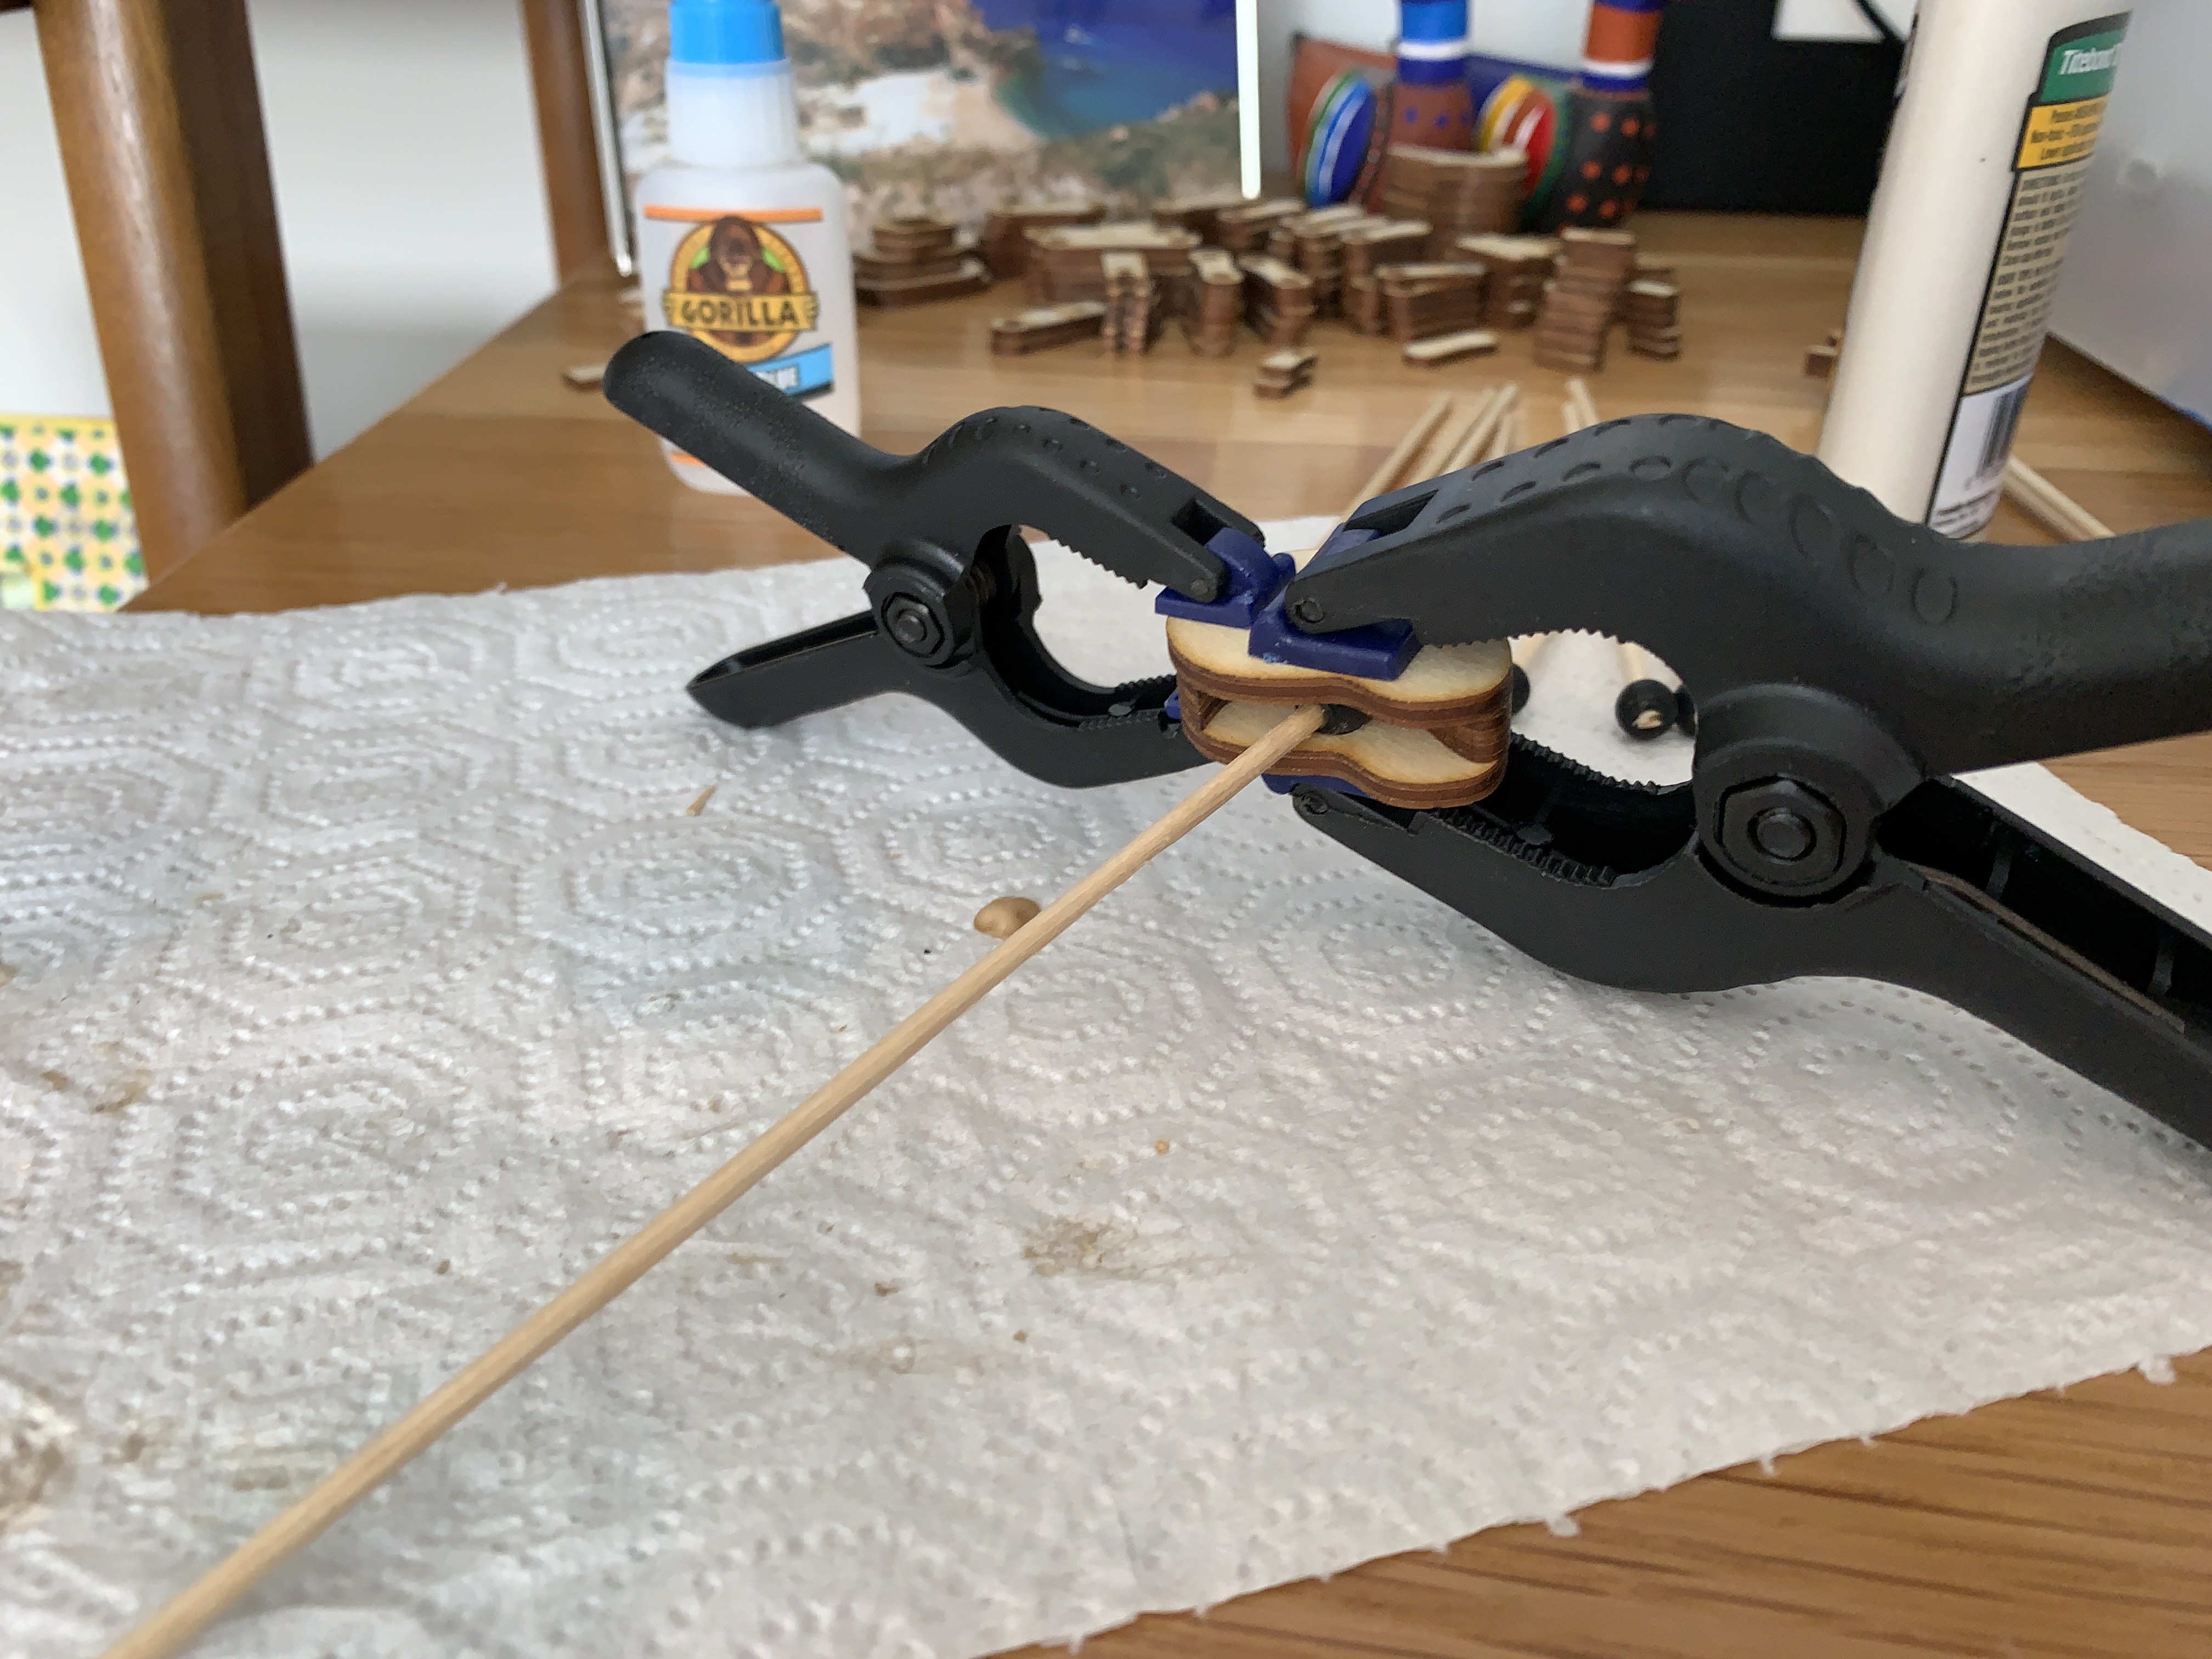
Once they were all 3D printed, I needed to start gluing pieces together. I started by gluing each body part together with wood glue(except for the top layers). I used clamps to make sure things were given the right amount of pressue as the glue dried.
Then, I glued wooden dowels into all of the ball joints using super glue.
Next, I started putting the ball joints into the sockets and gluing the top layer on to hold them in place. I used clamps again here to get the right amount of pressure while the glue dried.

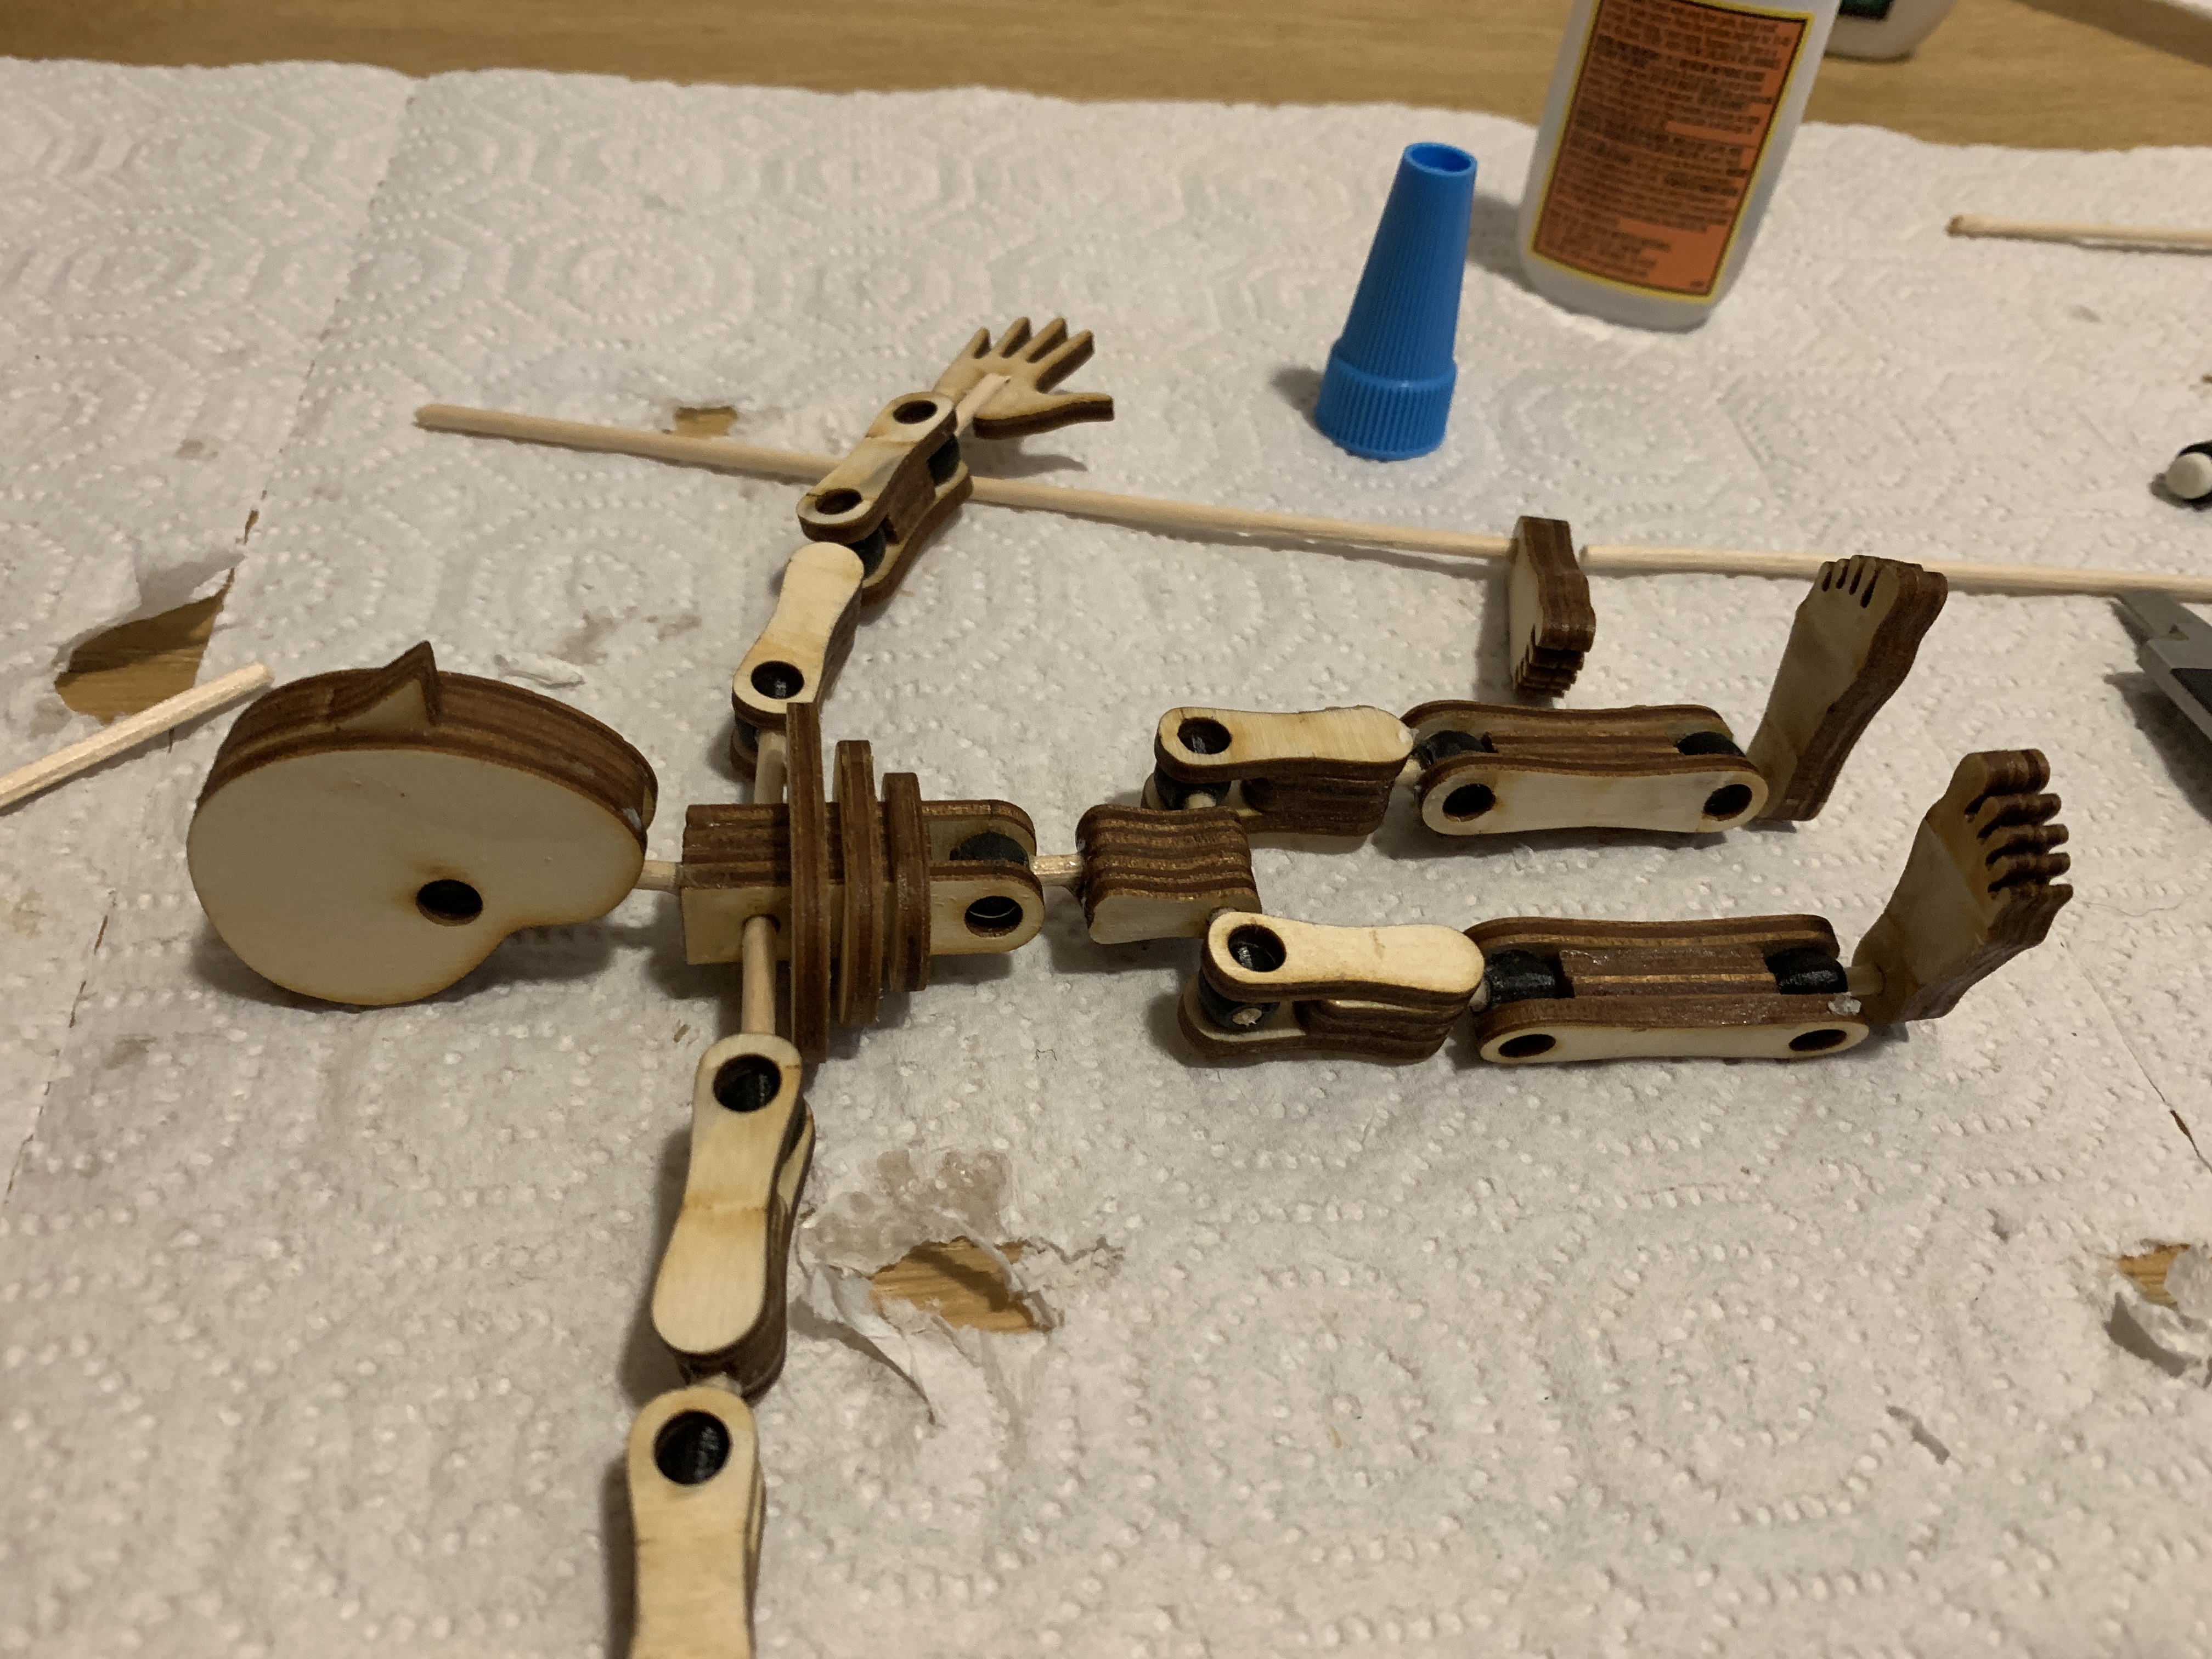
Then I laid out the skeleton.

Next, I started the process of cutting all the dowels to a size that allowed the joints to move freely in all directions. Once the dowels were cut, I glued them into their corresponding slots with superglue.
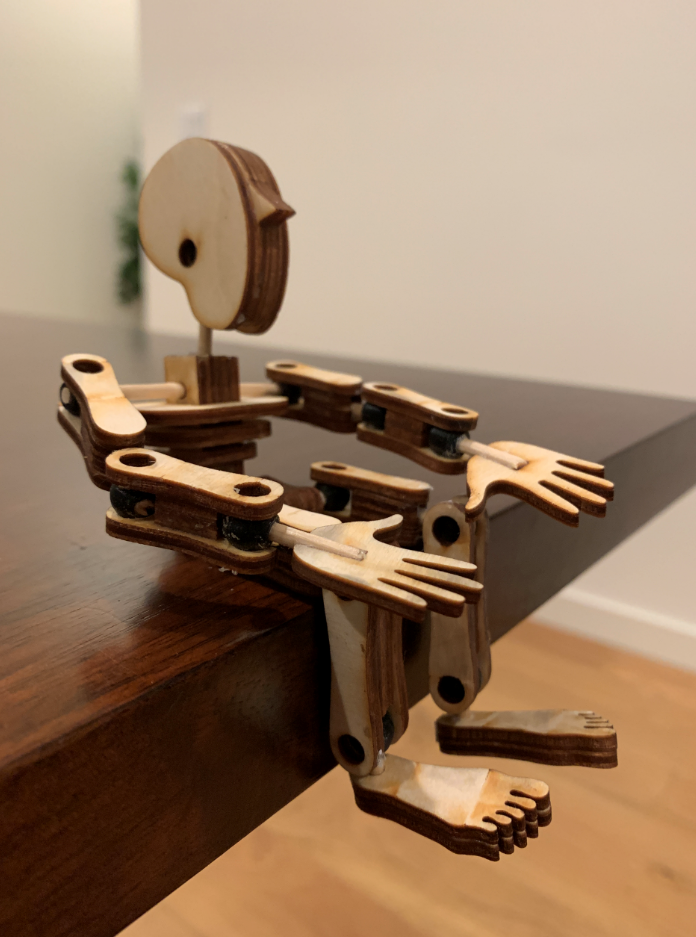
Slowly but surely, the man started coming together.
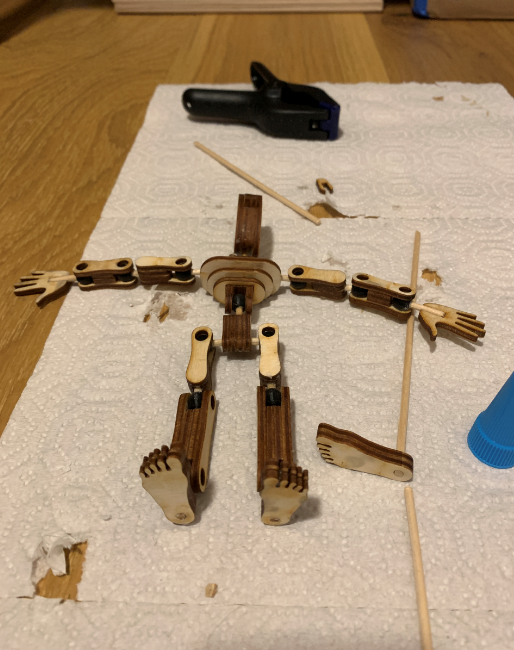
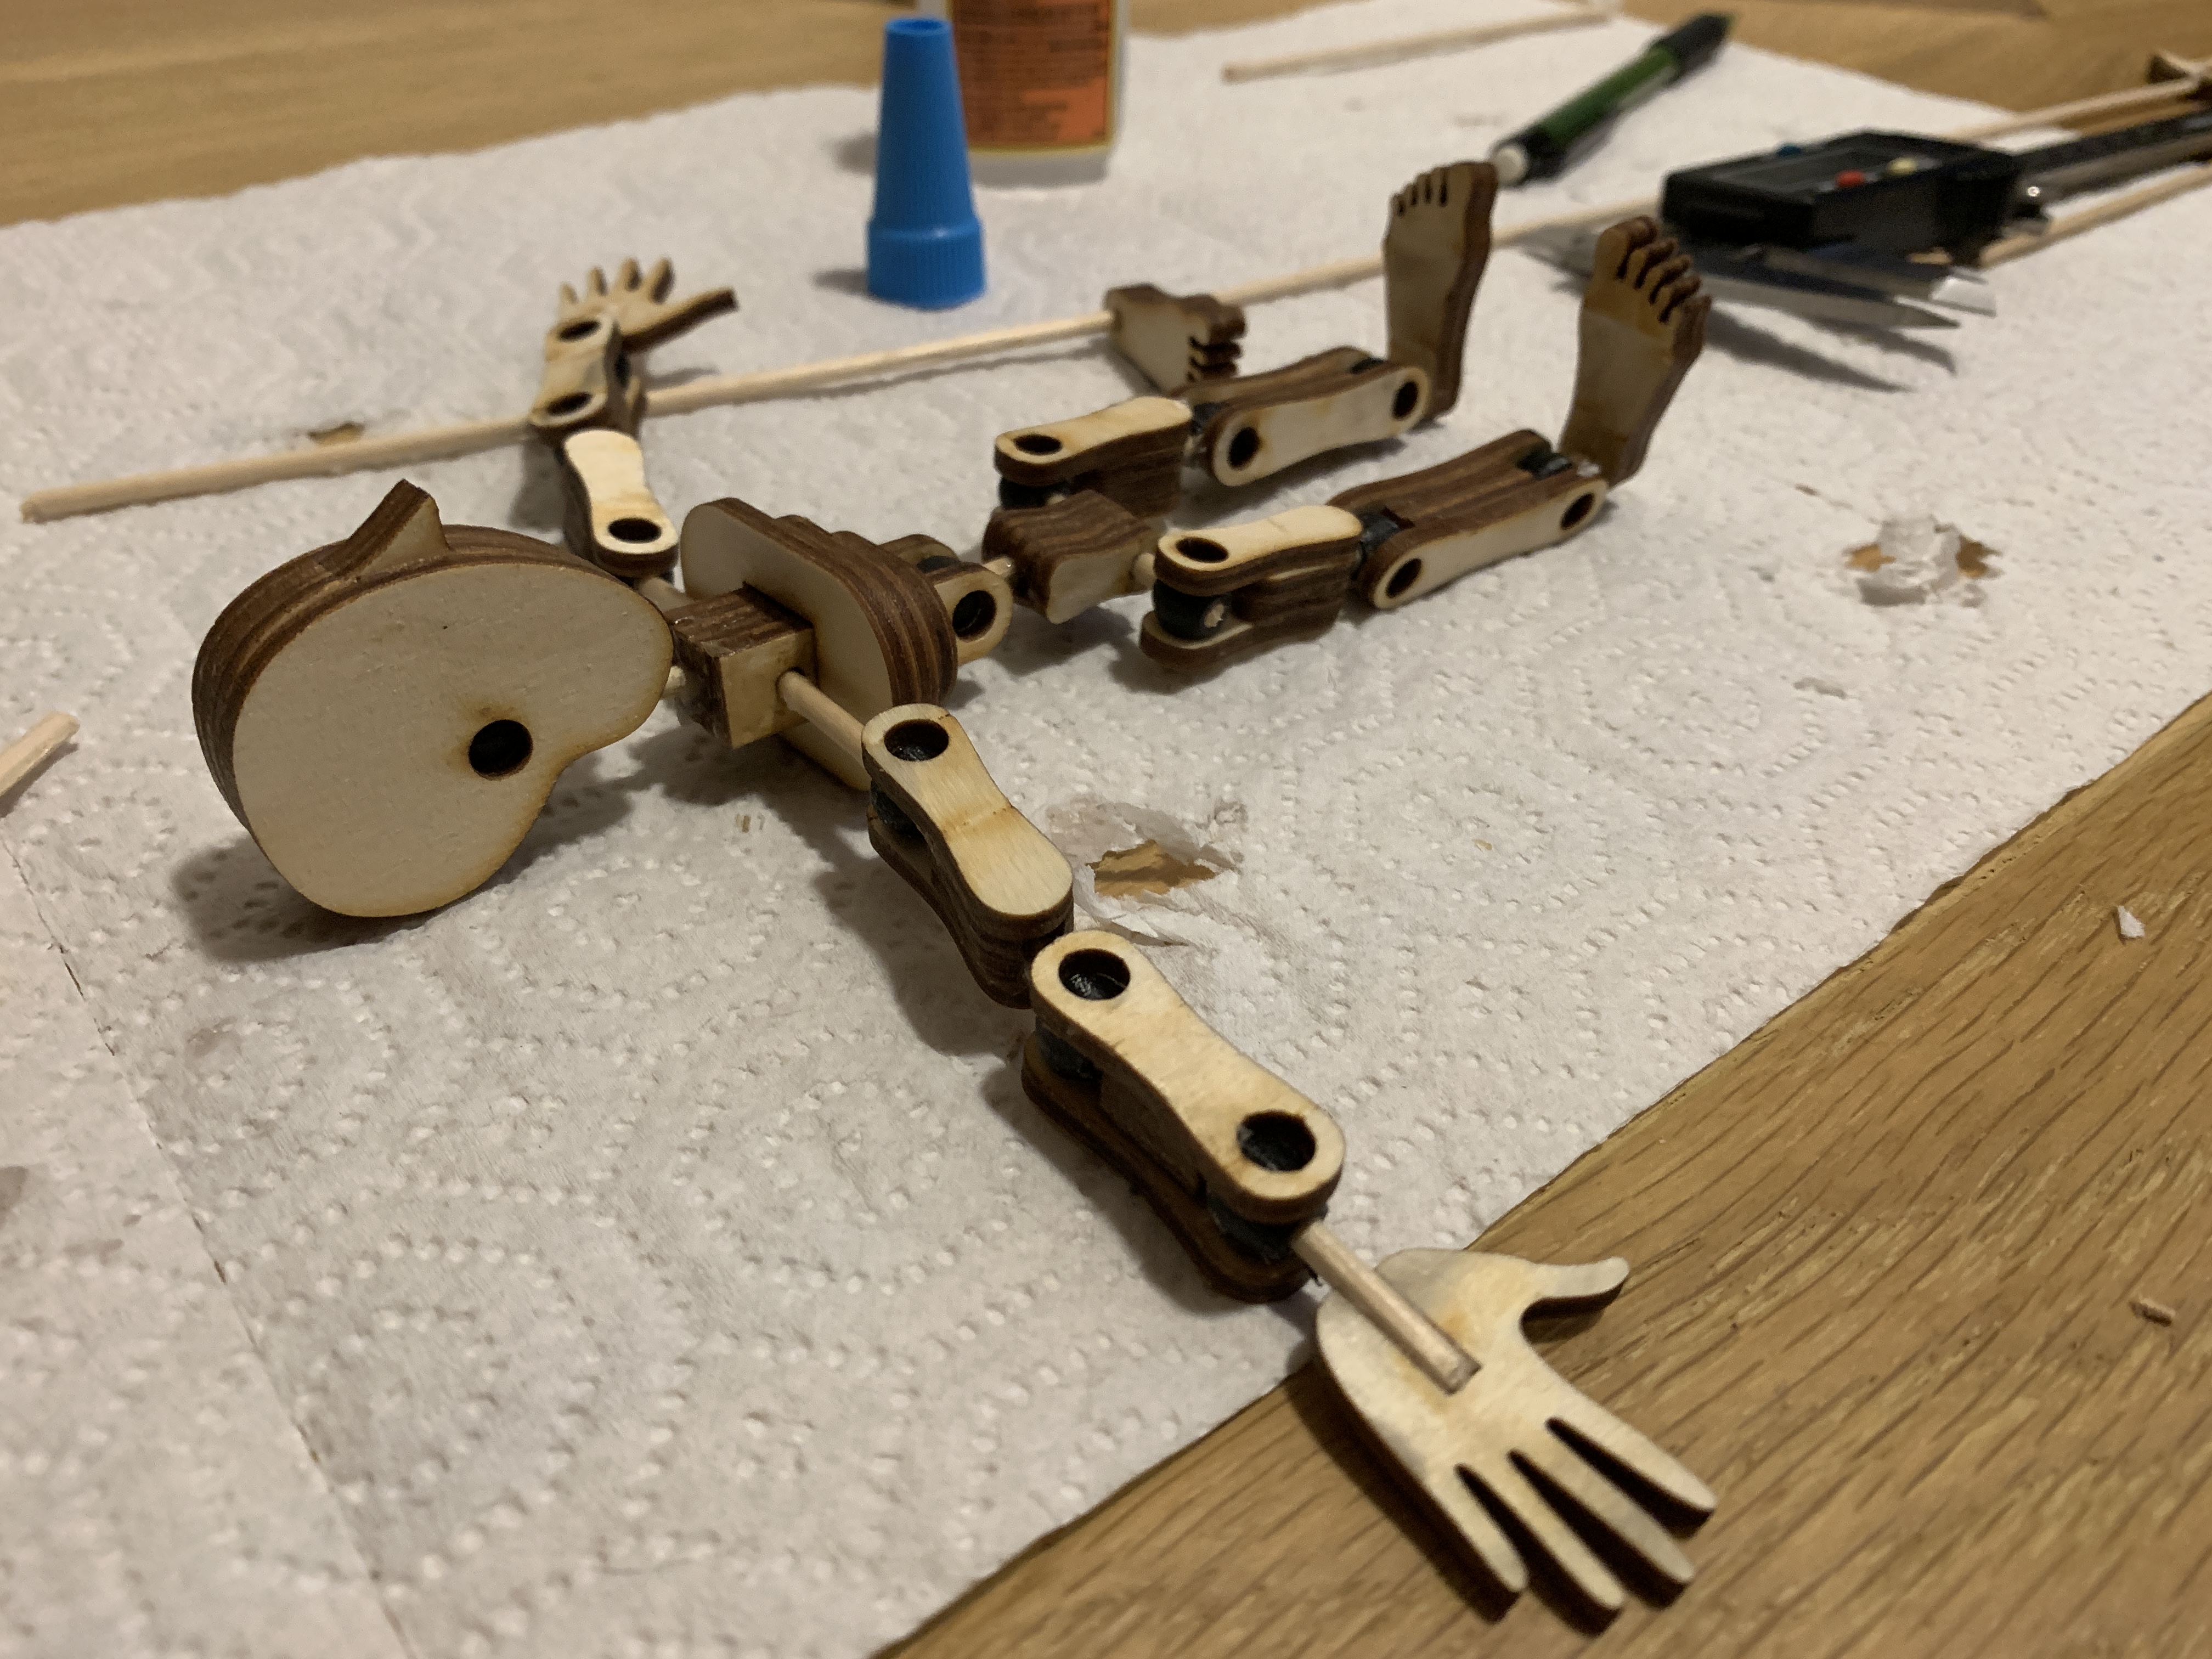 ]
]
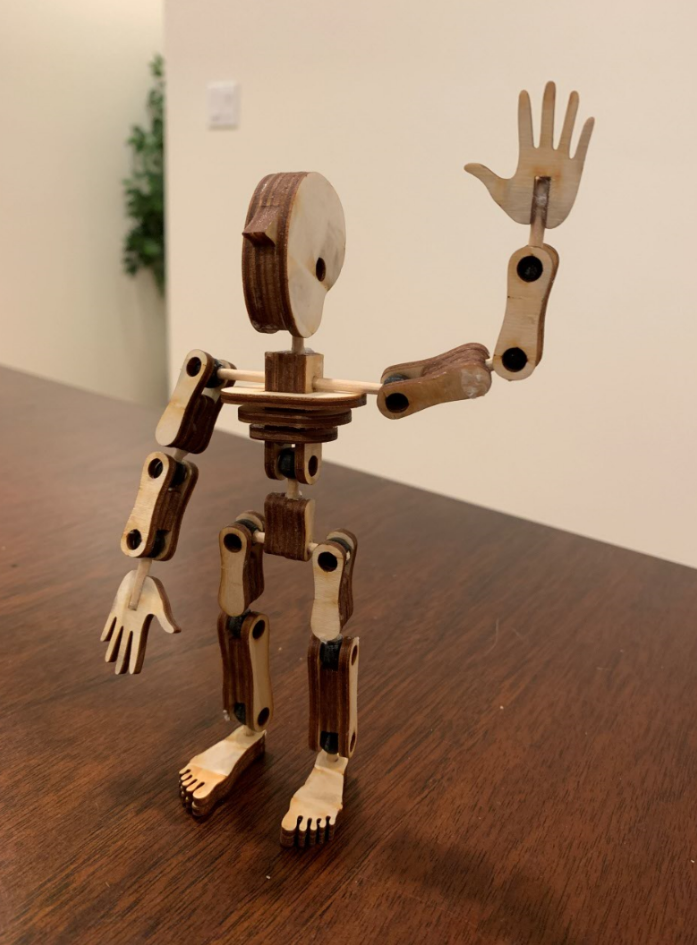
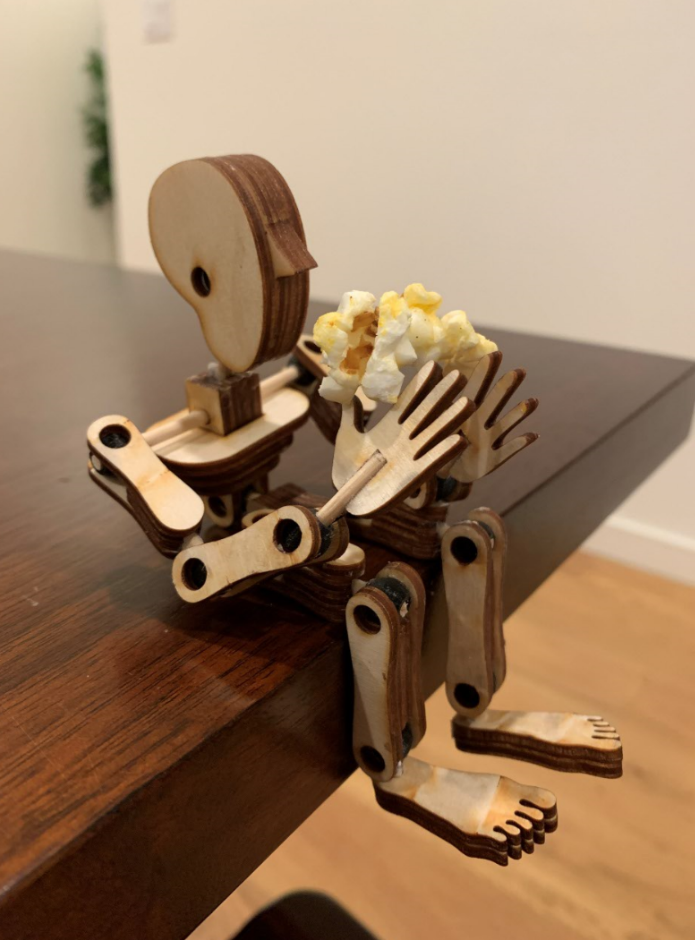
And then he was all done! Ready to be posed!


Techniques Used:
Laser Cutting
Parametric CAD
3D Printing
Moving Parts
Stock Parts
Bill of Materials:
(12) 3mm wooden dowels (Amazon)
(2) 1/8" thick, 12"x12" plywood sheets (Amazon)
Wood glue (Lowe's)
Gorilla glue (Lowe's)
Assorted clamps (Lowe's)
PLA filament for 3D printing (Amazon)
Source Files:
Here's a link to the source files.
Recommendations for Improvements:
I recommend sizing up the model to avoid losing pieces while laser cutting. I would also recommend scaling the torso piece vertically by around 20 - 30%, since it ended up a little short.